
I have to tell you about one of my absolute favorite desserts to make: this delightful 7-Ingredient Key Lime Pie Recipe. It’s a wonderfully tangy, creamy treat with just the right hint of sweetness, and it always feels like a little slice of sunshine on my plate. From the crisp macadamia-graham cracker crust to the luscious lime filling, each bite brings back memories of warm afternoons and happy gatherings. I love how simple it is to pull together, yet it impresses everyone who tries it.
Why You’ll Love This 7-Ingredient Key Lime Pie Recipe
What makes this pie really special to me is the perfect balance between tartness and sweetness. The punchy key lime juice combined with the rich, velvety sweetened condensed milk filling is pure magic, and the texture is silky smooth on your tongue. I also adore the little crunch and buttery flavor from the macadamia nut and graham cracker crust, which gives the pie a unique twist that elevates the entire experience.
Beyond just the incredible taste, I truly appreciate how easy this 7-Ingredient Key Lime Pie Recipe is to make. With just a handful of ingredients and straightforward steps, it’s perfect for any home cook, even if you’re pressed for time or new to baking. Whether I’m whipping this up for a casual family dinner, a summer party, or a holiday treat, it’s always a crowd-pleaser. It stands out because it feels like a special dessert made from scratch, but without any fuss or complicated techniques.
Ingredients You’ll Need
All the ingredients in this pie are simple but thoughtfully chosen, each playing an essential role in building up the flavors, textures, and beautiful look of the final dish.
- Full-sheet graham crackers (about 160g): The base for the crust, providing a classic, slightly sweet crunch and a golden color.
- Salted macadamia nuts (1/2 cup, roasted): Adds richness and a buttery nuttiness that perfectly complements the lime.
- Granulated sugar (2 tablespoons): Sweetens the crust just enough to balance the tart filling without overpowering.
- Unsalted butter (5 tablespoons, melted): Binds the crust ingredients together while adding a luscious, creamy fat component.
- Full-fat sweetened condensed milk (28 ounces): Creates the signature silky smooth, sweet filling that contrasts with the acidity of the lime.
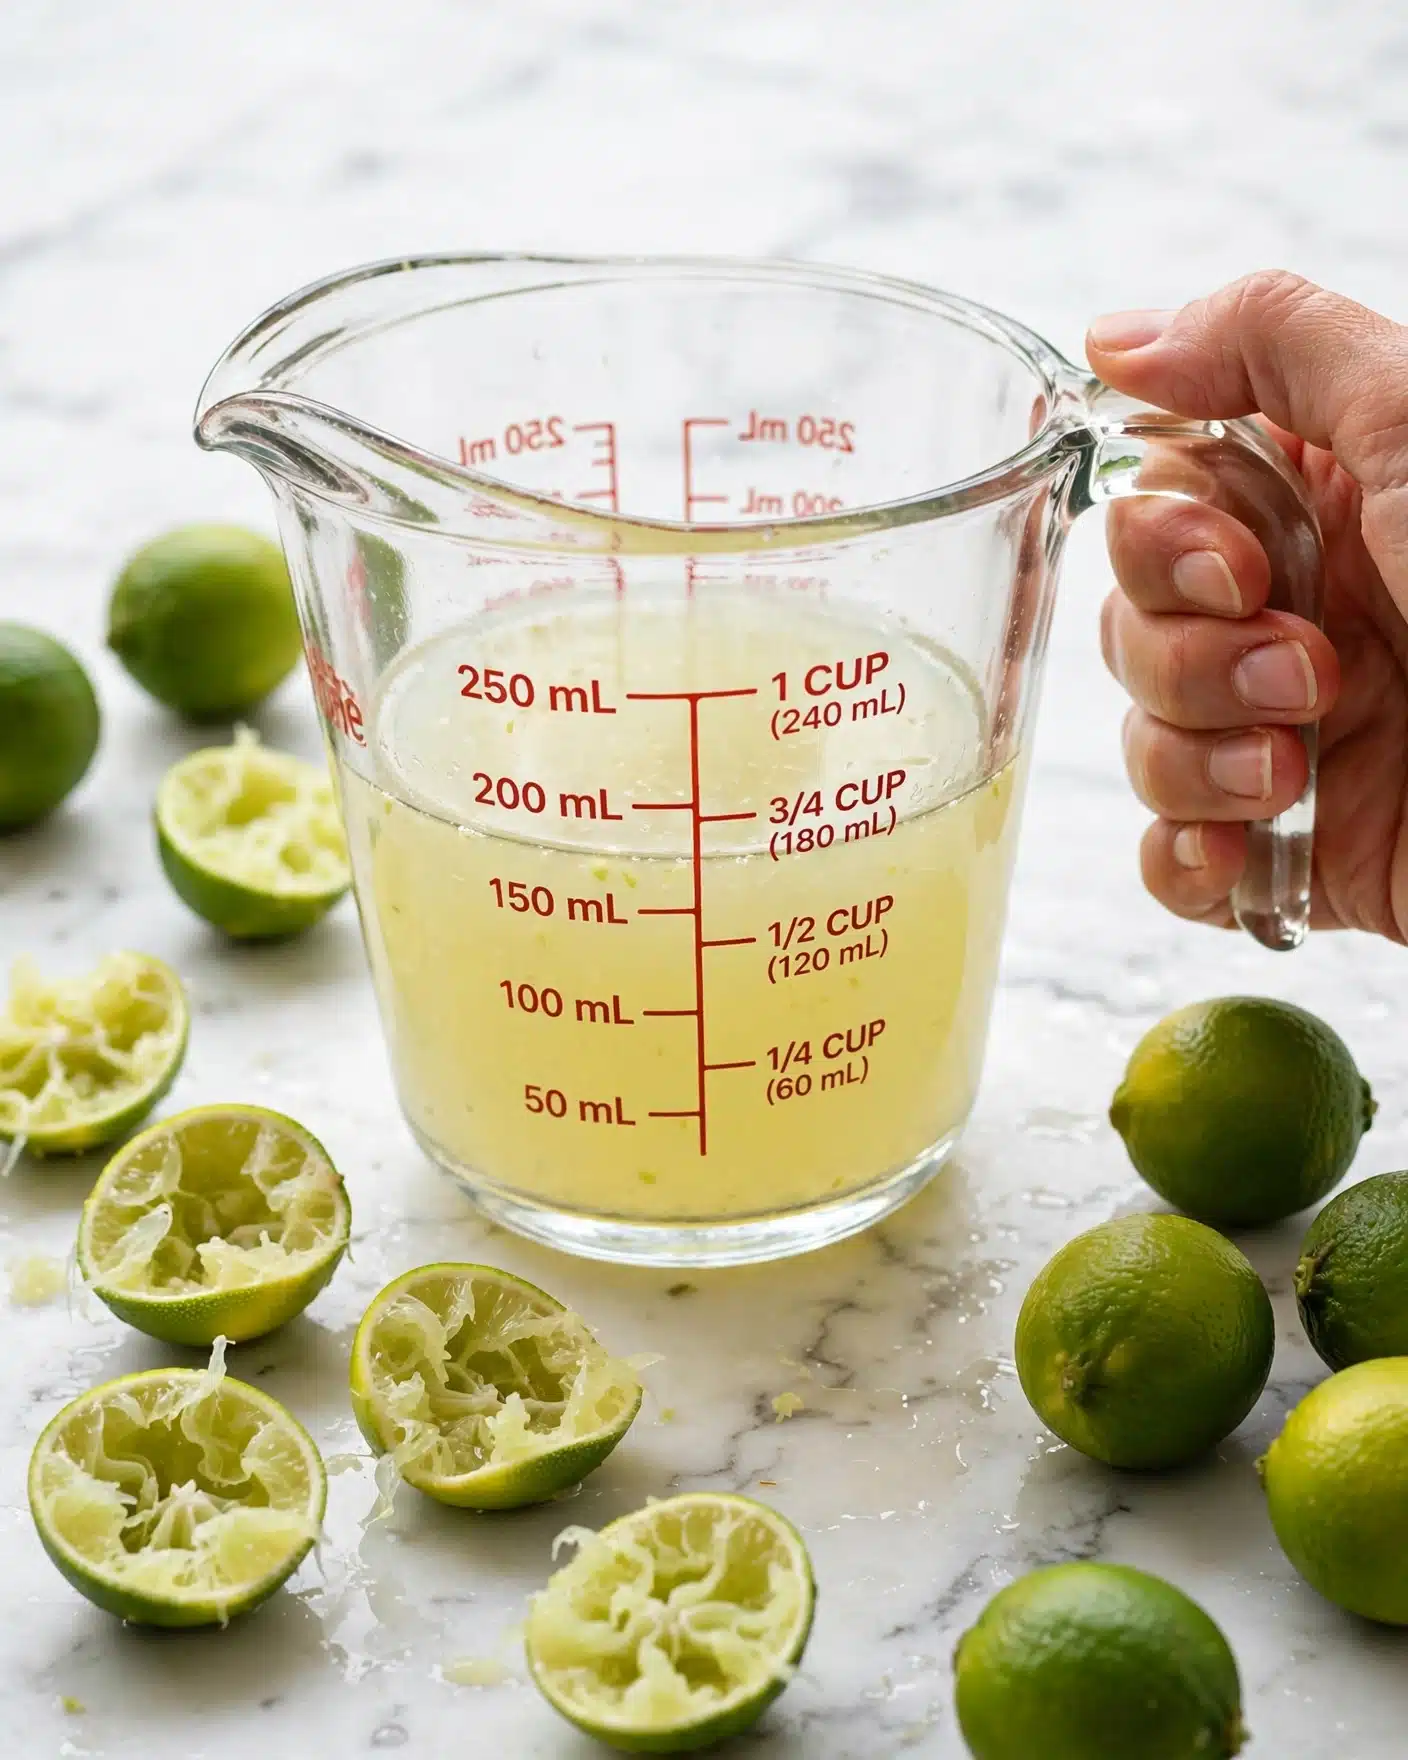
- Key lime juice (1 cup): The star ingredient, providing vibrant citrus flavor with a beautiful punch.
- Large egg yolks (4): Adds richness and helps the filling set properly for that perfect creamy texture.
- Key lime zest (1 teaspoon): Infuses the filling with fresh lime aroma and an extra burst of flavor.
Directions
Step 1: Preheat your oven to 350°F (177°C). This ensures it’s ready when you finish preparing the crust so you can bake without waiting.
Step 2: To make the crust, pulse the graham crackers and roasted macadamia nuts together in a food processor until you get coarse crumbs. I like to leave a few larger nut pieces here and there for added texture. Then, transfer the crumbs to a medium bowl and stir in the sugar. Add the melted butter and mix well until the mixture feels sandy but sticks together when pressed.
Step 3: Press this crumbly mixture evenly into an ungreased 9-inch pie dish. I use my hands to pat it down gently but firmly, making sure to cover the bottom and sides in one uniform layer. A small, flat-bottomed measuring cup is perfect to smooth out the bottom and create a neat edge. Don’t pack it too tightly, or the crust will be tough.
Step 4: Bake the crust in the preheated oven for 8 minutes, then remove it but keep the oven on for the filling step.
Step 5: For the filling, whisk together the sweetened condensed milk, key lime juice, and egg yolks until smooth and well combined. Then, stir in the key lime zest to brighten everything up.
Step 6: Pour the filling into the warm crust and spread it out evenly with a spatula. Place the pie back into the oven and bake for 18 to 20 minutes. You’ll want to pull it out when the center still jiggles slightly – this is the key to a perfect creamy set that won’t crack.
Step 7: Let the pie cool completely on a wire rack, then cover and chill it in your refrigerator for at least an hour, but ideally up to three days for the best flavor and texture.
Step 8: When you’re ready to serve, add your favorite garnish like fresh lime zest, quartered lime slices, toasted macadamia nuts, whipped cream, or even a light meringue topping for extra indulgence.
Step 9: Store any leftovers covered in the refrigerator for up to one week.
Servings and Timing
This recipe makes about 10 servings, making it ideal for sharing with friends or family. It takes roughly 20 minutes to prep the crust and filling, then 28 minutes for baking (8 minutes for the crust, 18-20 minutes for the pie). Allow at least one hour for chilling, though chilling up to three days enhances the flavor beautifully. So total active time is around 35 minutes, but plan for at least 3 hours from start to finish, including cooling and chilling.
How to Serve This 7-Ingredient Key Lime Pie Recipe
When I serve this pie, I love to keep it chilled so the filling stays silky and refreshing. It’s fantastic on a warm day as a light but decadent finish to lunch or dinner. For presentation, I often dress it up with a sprinkle of fresh lime zest and some toasted macadamia nuts for crunch. A dollop of softly whipped cream on top adds just the right creamy contrast.
This pie pairs beautifully with crisp white wines like Sauvignon Blanc or a chilled prosecco. For cocktails, a mojito or a gin and tonic with a lime twist enhances the lime flavors wonderfully. If you prefer non-alcoholic options, a cold iced green tea with lime makes a refreshing accompaniment.
I find it perfect for so many occasions – from casual family dinners and weekend get-togethers to summer potlucks and festive holidays. Slicing up generous portions and serving it with colorful garnishes always guarantees smiles around the table.
Variations
I like to get creative with this 7-Ingredient Key Lime Pie Recipe to suit different tastes and dietary needs. For example, swapping out the graham crackers and macadamia nuts for gluten-free crackers and coconut flakes works well if you’re avoiding gluten. You can even make a vegan version by using a store-bought or homemade condensed coconut milk and a flax egg substitute for the yolks.
If you want to play with flavors, mixing in a little fresh mint or basil with the filling adds an unexpected herbal note that’s utterly refreshing. Drizzling a raspberry coulis on top or serving with fresh berries can provide an extra pop of color and tartness to complement the lime.
For those who love experimenting, you could try baking this pie in individual ramekins for mini key lime pies – just adjust the baking time slightly to prevent overbaking. Or try a no-bake version by chilling the filling in a pre-made crust overnight if you’re short on time.
Storage and Reheating
Storing Leftovers
I recommend storing any leftover pie in an airtight container or covering it tightly with plastic wrap to keep the filling moist and to prevent any fridge odors from sneaking in. Keep it refrigerated, and it will stay fresh and delicious for up to one week. That way, every slice you enjoy afterward tastes just as perfect as the first.
Freezing
If you want to freeze this key lime pie, it’s best to wrap it securely in several layers of plastic wrap and then foil to avoid freezer burn. You can freeze it whole or in individual slices for up to two months. When you’re ready to enjoy it, thaw the pie in the refrigerator overnight. This helps preserve that creamy texture and crisp crust.
Reheating
Because this pie is best served chilled and is a custard-style dessert, I usually don’t recommend reheating it. If you want to enjoy it at room temperature, just take it out of the fridge about 15 to 20 minutes before serving. Avoid microwaving since it can alter the texture of the filling and make it grainy or rubbery. Keeping it cool really highlights the bright, fresh flavors.
FAQs
Can I use regular lime juice instead of key lime juice?
Yes, you absolutely can! Regular lime juice will work fine and still give you that citrus tang. Key lime juice has a slightly more intense and floral flavor, but using fresh regular lime juice is a great and accessible substitute that retains the signature tartness of the pie.
What can I substitute for macadamia nuts if I’m allergic?
If you have a macadamia nut allergy, you can replace them with other nuts like pecans or walnuts, which also add a lovely crunch. Toasting them lightly enhances their flavor and texture. Alternatively, you could use crushed gluten-free cookies or even shredded coconut for a different but tasty crust.
How do I know when the pie is done baking?
The key to a perfectly baked key lime pie is to look for a slight jiggle in the center when you gently shake the pan. The edges should be set and firm, but the filling should still wobble a bit. This means the custard will finish setting as it cools, resulting in a creamy texture that is not overcooked or rubbery.
Can I make this pie ahead of time?
Absolutely! This pie actually tastes better when made a day ahead. The chilling time in the fridge allows the flavors to meld and the filling to firm up beautifully. You can chill it for up to three days before serving, making it perfect for planning ahead for holidays or celebrations.
What other toppings can I add besides whipped cream?
Besides whipped cream, I love garnishing with toasted coconut flakes, fresh berries (like raspberries or blueberries), or a light meringue topping for extra sweetness and texture contrast. Candied lime slices or a drizzle of passionfruit syrup can also add a pretty, tropical flair. Don’t be afraid to get creative!
Conclusion
I genuinely hope you give this 7-Ingredient Key Lime Pie Recipe a try soon. It’s a wonderfully simple yet extraordinary dessert that brings so much joy with its bright flavors and creamy texture. Whether you’re making it for family, friends, or just a special treat for yourself, this pie always brings smiles and a little bit of sunshine to any day. Once you taste this perfect key lime pie, I bet you’ll want to make it again and again!


