
I am beyond excited to share with you my all-time favorite treat: this Zombie Cookies Recipe. These cookies are not only packed with a rich, buttery flavor and a creamy, dreamy frosting, but they also come with a fun, spooky twist that makes baking and decorating an absolute joy. I love how satisfying it is to create these soft, delicious cookies and then bring them to life with colorful, playful zombie faces. Whether you’re baking for Halloween or just want a unique, tasty cookie experience, this recipe will quickly become a staple in your kitchen.
Why You’ll Love This Zombie Cookies Recipe
What makes this Zombie Cookies Recipe truly special for me is that perfect balance of flavor and texture. The cookies themselves are soft and buttery with just a hint of almond that gives them a subtle depth without overpowering the classic cookie goodness. Then, the cream cheese in the dough adds an unexpected creaminess that keeps the cookie tender but still sturdy enough to hold all that fun frosting. I find every bite totally irresistible.
Another thing I really appreciate is how approachable this recipe is, even if you don’t consider yourself a baking pro. The steps are clear, and the dough is forgiving. Plus, watching the dough chill and then rolling it out to cut neat shapes makes the process feel so satisfying. Decorating the cookies becomes the highlight because you can get as creative as you want with the frosting colors and zombie faces. This recipe shines at family gatherings, Halloween parties, or anytime you want to wow your guests with tasty, festive treats.
Ingredients You’ll Need
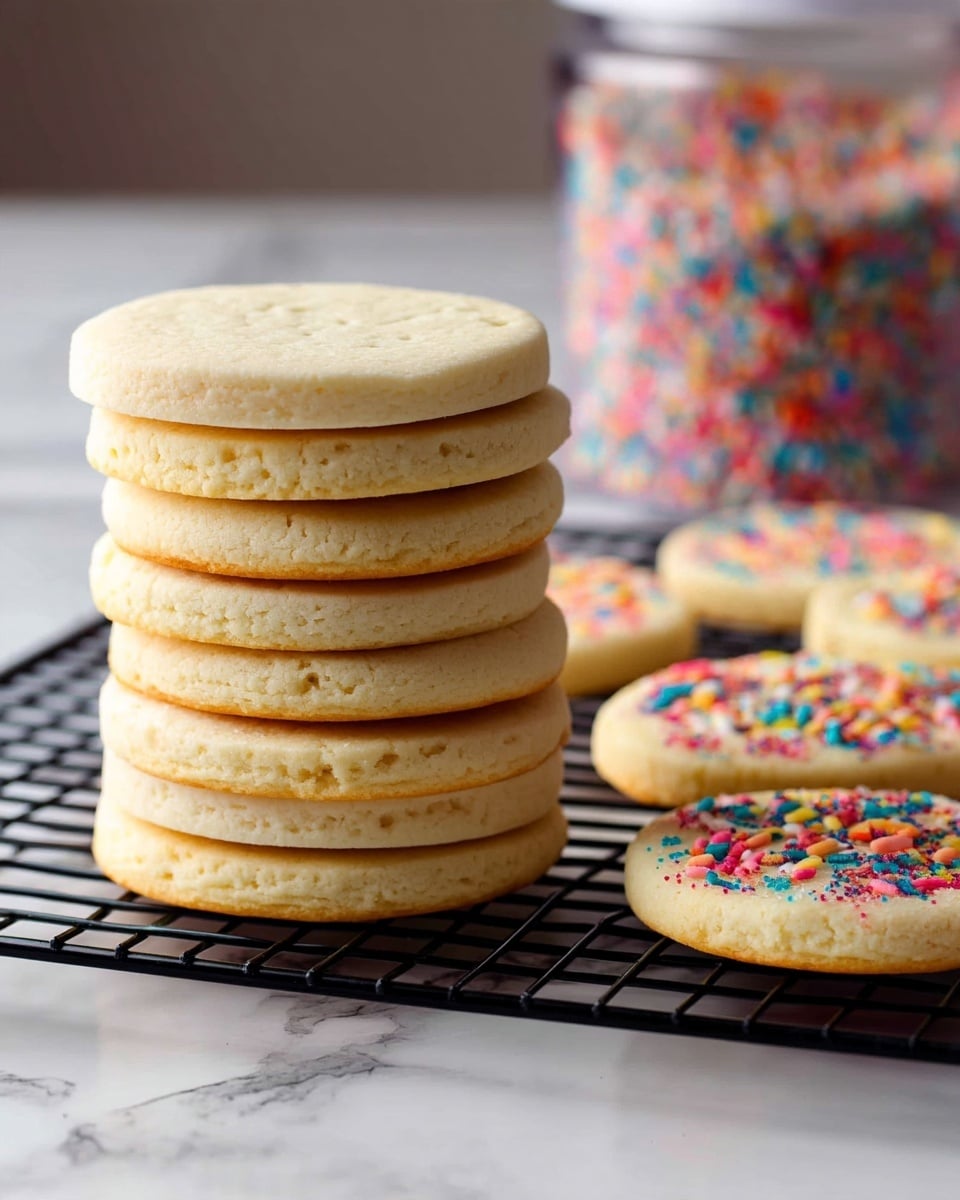
The ingredients for this Zombie Cookies Recipe are simple but essential—they come together to create that perfect texture and flavor combination. Each ingredient plays a key role, from the creamy butter and cream cheese to the fluffy powdered sugar in the frosting, all adding layers of taste and richness.
- Unsalted butter (3/4 cup + 1 cup): This gives the cookies their rich, buttery base and keeps the frosting silky smooth.
- Cream cheese (1/2 cup): Adds an extra tangy creaminess that keeps cookies tender and moist.
- Granulated sugar (1 1/2 cups): Sweetens the dough and helps create that lovely lighter texture when creamed.
- Egg (1 large): Binds the dough together and adds richness.
- Vanilla extract and almond extract: These extracts bring heavenly aromatics that deepen the cookie’s flavor complexity.
- All-purpose flour (3 cups): The main structure of the cookie, providing that perfect chew.
- Cornstarch (1 Tbsp): Helps create a tender crumb in the cookie.
- Baking powder (1/2 tsp) and fine salt (1 tsp total): Leaven and balance the sweetness perfectly.
- Powdered sugar (3 1/2 cups): For a sweet, fluffy buttercream frosting that’s easy to pipe.
- Heavy whipping cream (2 Tbsp): Keeps the frosting creamy and helps achieve the perfect spreading consistency.
- Gel food coloring: Essential for bringing those eerie zombie faces to life in vibrant, lasting shades.
Directions
Step 1: Start by mixing together the 3/4 cup of butter and the cream cheese at medium speed using a whisk attachment or hand mixer until the mixture is smooth and creamy with no lumps.
Step 2: Add the granulated sugar and mix on medium-high speed for a couple of minutes until the mixture becomes lighter in color and slightly fluffy. This step makes all the difference in texture.
Step 3: Beat in the egg, 2 teaspoons of vanilla extract (or paste), and 1 teaspoon of almond extract on low speed until everything is fully incorporated.
Step 4: In a separate bowl, sift together the flour, cornstarch, baking powder, and salt to ensure a smooth, even flour mix free of lumps.
Step 5: Gradually add the dry flour mixture into the wet ingredients on low speed in a couple of installments. Be careful to mix just until incorporated to avoid developing gluten, which can make the cookies tough. Scrape the bowl sides between additions to make sure everything is evenly combined.
Step 6: The dough will still be quite sticky. Divide it into two equal halves, wrap each tightly in plastic wrap, and chill in your fridge for about 2 hours. If you’re short on time, the freezer works well for about 30 minutes. You can also chill overnight for convenience.
Step 7: Preheat your oven to 350°F (175°C) around 30 minutes before you plan to bake. Dust your rolling surface and rolling pin with flour to prevent sticking. Remove one chilled dough ball and lightly flour it on top.
Step 8: Roll the dough to approximately 1/3 inch thickness, then use a flour-dusted cookie cutter to cut out your desired shapes. Gently brush off extra flour with a kitchen brush.
Step 9: Place the cut cookies on a baking sheet lined with parchment paper or silicone mat. Chill the cookies again for 15 minutes in the fridge or 10 minutes in the freezer—this helps the cookies hold their shape when baking.
Step 10: Bake the cookies on the top rack for 10 to 13 minutes, watching carefully to avoid browning the edges. Timing depends on cookie size, so keep an eye on them.
Step 11: Allow cookies to cool on the pan for about 10 minutes before transferring them to a wire rack to cool completely.
Step 12: While the first batch bakes and cools, gather the scraps, knead, wrap, and chill again for rolling later. Repeat the rolling and baking process with the second dough ball and then with the scraps.
Step 13: For the frosting, beat 1 cup of butter on medium speed for 30 seconds using the paddle attachment until smooth. Add 1 tablespoon vanilla extract and 1/2 teaspoon salt, mixing on low.
Step 14: Gradually add powdered sugar, about 1 cup at a time. Halfway through, add the 2 tablespoons heavy cream to soften the mixture. Continue beating on low speed until smooth.
Step 15: Adjust consistency as needed by adding more cream if the frosting is too thick or more powdered sugar if it’s too thin.
Step 16: Divide the frosting and color with gel food colors—green, pink, black, and white—to create the perfect zombie faces. Fill small piping bags with each color and decorate your cookies however spooky and fun you like!
Servings and Timing
This Zombie Cookies Recipe yields approximately 24 sturdy, flavorful cookies—perfect for sharing at parties or keeping for yourself! Prep time is about 20 minutes active, but you do need to chill the dough for roughly 2 hours, so plan ahead. Baking time is short—just 10 to 13 minutes per batch—and cooling takes about 10 minutes on the pan plus additional time on the wire rack. From start to finish, including chilling, you’re looking at around 2 hours and 15 minutes total time, but most of this is hands-off refrigeration and decorating.
How to Serve This Zombie Cookies Recipe
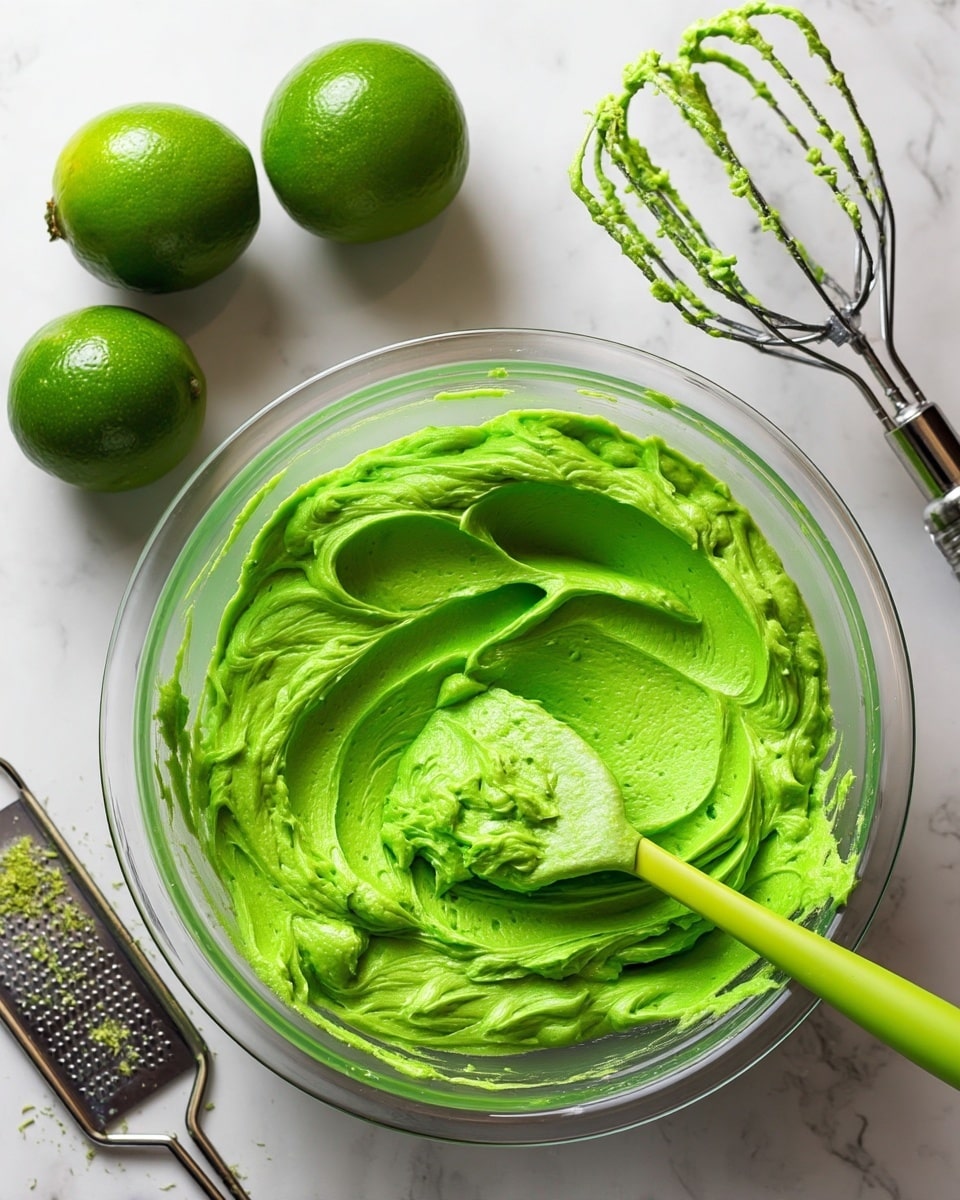
I love serving these Zombie Cookies Recipe treats at Halloween gatherings, fall parties, or whenever I want to bring some playful fun to the table. They look incredible arranged on a platter lined with festive napkins—maybe with some fake cobwebs or mini pumpkins for added atmosphere. The colorful frosting really pops when plated simply, so I often keep presentation basic to let the designs shine.
For accompaniments, I like pairing these cookies with a cold glass of milk or a warm cup of spiced tea, which complements the sweet and buttery flavors perfectly. If you want to get fancy, a lightly spiced cider or even a fruity cocktail enhances the experience and keeps the vibe festive.
Serve the cookies at room temperature to enjoy their soft texture and creamy frosting. They hold their lovely softness well, so no need to reheat. Portion-wise, one or two cookies per person is usually enough since they’re rather rich. For parties, I suggest placing them on a tiered stand or cookie jar so guests can admire and pick their favorites.
Variations
One of the things I find most delightful about this Zombie Cookies Recipe is how adaptable it can be. If you need gluten-free options, I’ve successfully swapped the all-purpose flour with a gluten-free flour blend that includes xanthan gum—it works wonderfully and keeps the dough’s integrity. For a vegan twist, replacing the butter and cream cheese with plant-based alternatives, and swapping the egg with a flax egg, makes the recipe completely plant-friendly without losing much in the texture department.
If you want to switch up the flavor, try incorporating some cocoa powder into the dough for a chocolatey zombie cookie that still pairs beautifully with the colorful frosting. Alternatively, add a pinch of cinnamon or pumpkin spice to make these cookies perfect for fall celebrations. For a different decorating approach, you can melt white chocolate and tint it with food coloring for drip effects or highlight zombie eyes and details more vividly.
For those short on time or wanting a bit of a shortcut, I’ve also used a drop cookie method with this dough—simply dropping spoonfuls onto the baking sheet and then decorating once cooled. It’s less precise but still absolutely delicious and faster to whip up.
Storage and Reheating
Storing Leftovers
After enjoying your freshly baked zombie treats, store any leftovers in an airtight container at room temperature. Layer the cookies between sheets of parchment paper to prevent sticking, especially because of the frosting. They’ll keep their soft texture and flavor beautifully for up to 4 days. I find that storing on the counter is best to keep the frosting fresh and spreadable without condensation forming.
Freezing
These cookies can definitely be frozen if you want to prep ahead or save extras. For best results, freeze the unfrosted cookies separately on a baking sheet until solid, then transfer them to a freezer-safe bag or container. Freeze for up to 3 months. Frosting can be made fresh when you’re ready to serve, or you can freeze frosted cookies carefully wrapped in plastic wrap and a container for up to 1 month, but frosting texture might soften a bit.
Reheating
When you’re ready to enjoy your leftovers, I recommend allowing the frozen or refrigerated cookies to come to room temperature naturally to preserve that tender texture. Avoid microwaving directly as it can make the frosting melt and the cookie overly soft. If you really want them warm, a quick 5-7 seconds in a hot oven (about 300°F) on a baking sheet is gentle enough to warm through without damage. This helps revive the softness and enhances the buttery flavor without compromising the frosting design.
FAQs
Can I make these Zombie Cookies Recipe ahead of time?
Absolutely! The dough can be made and chilled up to 48 hours in advance, and the cookies can be baked and frozen for later use. Just keep the frosting separate until you’re ready to decorate for best results.
What’s the best way to avoid cookies spreading too much during baking?
Chilling the dough twice—both before cutting and after shaping—helps the cookies keep their shape. Also, stick to the recommended thickness of about 1/3 inch, and avoid over-mixing the dough once the flour is added.
Can I use regular liquid food coloring for the frosting?
Gel food coloring is preferable because it adds vivid color without thinning the frosting. Liquid coloring can make your frosting runny and harder to pipe, which affects decoration precision.
Is it possible to make this recipe nut-free?
Yes, just omit the almond extract or replace it with extra vanilla extract. The recipe is naturally made without whole nuts, so this is an easy swap for those avoiding nuts.
How do I get the frosting to the right consistency for piping?
Start by beating in powdered sugar gradually, then add heavy cream a little at a time until the frosting is smooth but thick enough to hold shape on the cookie. If it’s too runny, add more powdered sugar in small increments.
Conclusion
I truly hope you enjoy making and eating this Zombie Cookies Recipe as much as I enjoy sharing it. It’s such a delightful mix of classic cookie comfort with a spooky, festive twist that brings smiles to every face. Whether you’re baking with kids, throwing a themed party, or simply craving something special, these cookies promise both flavor and fun. Happy baking and may your kitchen be filled with joy (and maybe some friendly zombies)!
Print
Zombie Cookies Recipe
- Prep Time: 30 minutes
- Cook Time: 13 minutes per batch, total approx. 40 minutes
- Total Time: 2 hours 30 minutes
- Yield: 24 cookies
- Category: Dessert
- Method: Baking
- Cuisine: American
- Diet: Vegetarian
Description
These Zombie Cookies are a fun and festive Halloween treat featuring soft buttercream sugar cookies decorated with colorful, spooky frosting. The cookie dough is rich with cream cheese and almond extract for extra flavor and tenderness. After chilling and baking to perfection, the cookies are decorated with vibrant buttercream frosting tinted in green, pink, black, and white to create creepy zombie faces. Perfect for parties or seasonal baking, this recipe yields 24 delightful cookies with a soft, tender crumb and creamy decorations.
Ingredients
Cookies Dough
- 3/4 cup unsalted butter, room temperature (170g)
- 1/2 cup full fat cream cheese, room temperature (113g)
- 1 1/2 cups granulated sugar (300g)
- 1 large egg, room temperature (56g)
- 2 tsp vanilla extract or vanilla bean paste (6g)
- 1 tsp almond extract (3g)
- 3 cups all-purpose flour (375g)
- 1 Tbsp cornstarch (8g)
- 1/2 tsp baking powder (2g)
- 1/2 tsp fine salt (3g)
Buttercream Frosting
- 1 cup unsalted butter, room temperature (226g)
- 1 Tbsp vanilla extract or vanilla bean paste (12g)
- 1/2 tsp fine salt (3g)
- 3 1/2 cups powdered sugar (452g)
- 2 Tbsp heavy whipping cream, room temperature (30g)
- Gel food coloring (green, pink, black, white)
Other
- Parchment paper or silicone baking mat
- Baking sheet
- Piping bags
- Frosting tips of your choice (optional)
Instructions
- Prepare the cookie dough: In a medium bowl, whisk or beat together 3/4 cup butter and 1/2 cup cream cheese at medium speed until smooth and creamy.
- Add sugar and mix: Blend in 1 1/2 cups granulated sugar at medium-high speed for 2 minutes until the mixture lightens in color and becomes fluffy.
- Incorporate wet ingredients: Add 1 large egg, 2 tsp vanilla extract or paste, and 1 tsp almond extract. Mix on low speed just until combined.
- Sift dry ingredients: In a separate bowl, sift together 3 cups all-purpose flour, 1 Tbsp cornstarch, 1/2 tsp baking powder, and 1/2 tsp salt.
- Combine dry and wet: Gradually add the flour mixture into the butter mixture at low speed, mixing just until incorporated. Scrape sides as needed, being careful not to overmix.
- Chill the dough: Divide dough in half, wrap each in plastic wrap, and chill refrigerated for about 2 hours or freeze for 30 minutes; overnight chilling works well.
- Preheat oven and prepare surface: About 30 minutes before baking, preheat oven to 350°F (175°C). Dust work surface and rolling pin with flour.
- Roll and cut dough: Roll one dough ball to 1/3 inch thickness. Use flour-dusted cookie cutters to cut desired shapes, dust off excess flour with a brush.
- Chill cut cookies: Place cookies on parchment-lined baking sheet and chill in fridge for 15 minutes or freezer for 10 minutes to help maintain shape during baking.
- Bake cookies: Bake on the top oven rack for 10-13 minutes, depending on cookie size and shape. Remove just before edges brown.
- Cool cookies: Let cookies cool 10 minutes on baking sheet, then transfer to wire rack to cool completely.
- Handle scraps and second batch: Knead dough scraps, rewrap, and chill. Repeat rolling, cutting, chilling, and baking for second dough ball and scraps.
- Make buttercream frosting: Beat 1 cup butter on medium speed for 30 seconds until smooth. Mix in 1 Tbsp vanilla and 1/2 tsp salt on low speed.
- Add powdered sugar and cream: Slowly add 3 1/2 cups powdered sugar 1 cup at a time, mixing continuously. Halfway through, add 2 Tbsp heavy cream to ease mixing.
- Adjust consistency: Beat on low until fully combined and desired thickness is reached. Add extra cream or powdered sugar as needed to thin or thicken frosting.
- Color the frosting: Divide frosting into portions and tint with gel food coloring—half green, one quarter pink, one eighth black, and one eighth white.
- Decorate cookies: Fill piping bags with each colored frosting and pipe zombie faces. Use small piping tips if desired.
Notes
- Chilling the dough thoroughly is essential for easy rolling and well-shaped cookies.
- Baking times may vary; watch cookies closely to prevent browning of edges.
- Use gel food coloring for vibrant frosting colors without altering consistency.
- Cookies can be stored in an airtight container for up to 5 days, or frozen before decorating.
- The recipe works well if you split chilling steps between refrigerator and freezer for convenience.
- Room temperature ingredients ensure smooth mixing and consistent texture.


