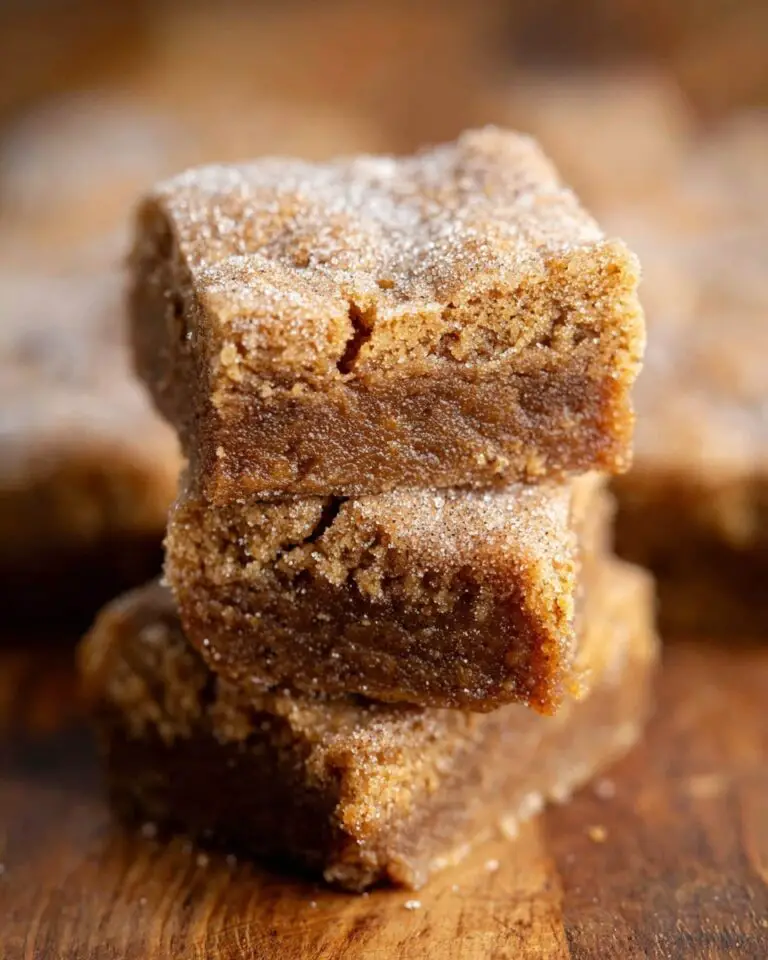
I absolutely love sharing this Spooky Meringue Bones Recipe because it combines the delicate sweetness of meringue with a fun, festive twist that’s perfect for Halloween or any spooky gathering. I find it so delightful how these crisp and airy bones melt in your mouth while adding a playful vibe to your dessert table. It’s a recipe I keep coming back to whenever I want to impress guests or just treat myself with something whimsical and light-hearted.
Why You’ll Love This Spooky Meringue Bones Recipe
From the very first bite, I was hooked on the airy crunch and the luscious sweetness these meringue bones bring to the table. The flavor is pure vanilla-sweet magic, with a melt-in-your-mouth texture that feels like a delicate cloud of sugary delight. What’s amazing is how the crisp edges and slightly chewy centers perfectly complement one another, making each bite uniquely satisfying.
What really stands out to me is how surprisingly simple this recipe is to make, despite looking so intricate and decorative. I love that a few basic pantry staples transform into these charming spooky shapes with just a bit of patience and care. Plus, they’re fantastic for a variety of occasions — whether I’m hosting a Halloween party, adding flair to a kid’s birthday bash, or just craving a themed sweet snack. This recipe always sparks joy and a little playful creativity!
Ingredients You’ll Need

The ingredient list for this Spooky Meringue Bones Recipe is wonderfully straightforward, emphasizing quality and technique over complexity. Each component plays an essential role in achieving that perfect meringue texture and sweetness, ensuring success even if you’re new to baking meringues.
- Superfine sugar: Using superfine sugar helps it dissolve easily in the egg whites, creating that signature glossy and stable meringue.
- Egg whites: Fresh, large egg whites whip beautifully into stiff peaks that hold shape well for piping the bone shapes.
- Pinch of salt: Just a touch of salt balances the sweetness and enhances the overall flavor of the meringue.
Directions
Step 1: Preheat your oven to 400˚F (200˚C) and line two baking sheets with parchment paper. This high starting temperature helps to warm and slightly caramelize the sugar before whisking it into the egg whites.
Step 2: Pour the superfine sugar into an oven-safe baking dish and slide it into the preheated oven for about 4 minutes. You want the sugar to become hot to the touch but not melted or burnt. Remove it carefully and immediately reduce the oven temperature to 225˚F (110˚C) to prepare for baking the meringue later.
Step 3: In the bowl of your stand mixer or using a handheld electric mixer, whisk the egg whites and a pinch of salt until they become foamy and light. This initial phase is essential for creating volume and stability in your meringue.
Step 4: Quickly add all the hot sugar to the foamy egg whites and continue to whisk at medium-high speed. This is where the magic happens — whisk for 6 to 8 minutes until the mixture becomes super glossy, thick, and white. The meringue should hold soft peaks that stand strong, and if you’re bold, it won’t slip even if you turn the bowl upside down!
Step 5: Transfer the meringue into a piping bag or a large resealable plastic bag with a snipped bottom corner. Pipe a 4-inch-long strip on the parchment paper to form the main part of the “bone.” Then, add two small blobs on each end of the strip to create the classic bone shape. Don’t worry if it takes a couple tries to perfect your piping technique — it’s all part of the fun!
Step 6: Place your baking sheets in the oven and bake the meringue bones at 225˚F (110˚C) for about 40 minutes. The goal is to let them dry out completely so they’re crisp and light to the touch. Larger bones may need more time, so keep an eye on them and test the texture gently.
Step 7: Once baked, turn off the oven but leave the meringues inside to cool gradually to room temperature. This slow cooling helps prevent cracks and keeps your bones perfectly crisp on the outside while tender within.
Servings and Timing
This Spooky Meringue Bones Recipe yields about 12 servings, making it ideal for gatherings or as a charming treat to share. Prep time is about 10 minutes, mostly hands-on whisking and piping, while baking and cooling take approximately 50 minutes to an hour total. The gradual cool-down in the oven ensures the best texture, so factor that in when planning your treat time.
How to Serve This Spooky Meringue Bones Recipe

When I serve these spooky meringue bones, I like to arrange them on a large platter lined with dark or festive Halloween-themed paper to make their white shapes really pop. They’re such a conversation starter and instantly bring a smile to everyone’s face. You can sprinkle a little edible glitter or black sanding sugar to add sparkle and a hint of mystery, which guests love.
These bones are delightful on their own, but I also enjoy pairing them with rich accompaniments that contrast their crisp sweetness. Think along the lines of chocolate mousse, pumpkin pie, or a drizzle of caramel sauce. They also make an adorable garnish for cupcakes and layered Halloween dessert trifle cups.
For drinks, I often serve them alongside a chilled glass of sparkling wine or a fun, seasonal cocktail like a blackberry gin fizz. For a kid-friendly option, bright orange or purple fruit punch works wonderfully. These bones are best enjoyed at room temperature to fully appreciate their crisp texture without softening too quickly.
Variations
I love experimenting with this Spooky Meringue Bones Recipe by swapping ingredients or tweaking flavors. For instance, adding a teaspoon of vanilla or almond extract to the egg whites before whisking adds subtle warmth and depth. For a fun twist, try folding in a little cocoa powder or pumpkin spice to the meringue for a seasonal flavor variation.
If you’re accommodating dietary needs, this recipe is naturally gluten-free since it contains no flour. However, it’s not vegan due to the egg whites. For a vegan adaptation, aquafaba (the liquid from canned chickpeas) can be whipped into meringue, though it takes some practice to achieve the same stability and crispness as egg whites. I recommend giving it a trial run before serving to guests.
As for cooking methods, while baking at low heat is essential to dry out the meringue, some people experiment with dehydrators for an even airier texture. Personally, I prefer the oven method for its reliability and ease. You can also make smaller bone shapes for bite-sized treats that kids absolutely adore.
Storage and Reheating
Storing Leftovers
The key to keeping your meringue bones fresh and crispy is storing them in an airtight container at room temperature. I usually use a glass or plastic container with a tight-sealing lid. They keep well for 1 to 2 days, but do avoid storing them in the fridge, as humidity can make them soft and sticky.
Freezing
Freezing meringue bones isn’t something I typically do because freezing can introduce moisture that ruins the crisp texture upon thawing. However, if you must freeze them, wrap each bone individually in plastic wrap and place them in an airtight freezer bag. When you’re ready to enjoy, thaw them at room temperature but expect some loss of crunchiness.
Reheating
Meringues don’t reheat well because their crisp texture can be compromised. If they have softened a bit, a very brief 5-10 minute warm-up in a low oven (about 200˚F or 95˚C) can help restore some crunchiness. Avoid microwaving, as this will make them chewy and ruin their delicate structure.
FAQs
Can I use regular granulated sugar instead of superfine sugar?
You can, but I recommend blitzing regular granulated sugar in a blender or food processor to make it finer. This helps the sugar dissolve better into the egg whites, resulting in a smoother, glossier meringue without graininess.
How do I know when my meringue is ready to pipe?
Your meringue is ready when it is thick, glossy, and holds soft peaks that remain stable. A fun test I do is carefully turning the bowl upside down — if the meringue stays put without slipping, you’re good to go!
Is it necessary to heat the sugar before adding it to the egg whites?
Heating the sugar slightly helps dissolve it more efficiently, giving the meringue a silkier texture and better stabilization. This step makes a noticeable difference in the finished product’s smoothness and volume.
Can I make these meringue bones ahead of time?
Absolutely! You can prepare and bake the bones a day in advance. Just be sure to store them in an airtight container to maintain their crispness. They’re perfect for prepping when you want to save some time before a party.
What if my meringue cracks while cooling?
Cracking can happen if cooling is too rapid. That’s why I always recommend turning the oven off and letting the meringues cool slowly inside. It helps prevent sudden temperature changes that cause cracks, keeping the bones intact and pretty.
Conclusion
I really hope you give this Spooky Meringue Bones Recipe a try because it’s such a charming and delicious way to add some festive fun to your kitchen. I’ve had so much joy crafting these delicate treats, and I promise, once you taste that crisp sweetness, you’ll be hooked, too! Whether you’re baking for a party, family, or just a playful moment, these bones never fail to bring smiles and a touch of magic.
Print
Spooky Meringue Bones Recipe
- Prep Time: 10 minutes
- Cook Time: 45 minutes
- Total Time: 1 hour
- Yield: 12 servings
- Category: Dessert
- Method: Baking
- Cuisine: American
- Diet: Vegetarian
Description
Spooky Meringue Bones are a fun and festive Halloween treat made from light, airy meringue piped into bone shapes and baked until crisp. These delicate and sweet meringue cookies are easy to make with just a few ingredients and add a playful touch to any Halloween party or dessert spread.
Ingredients
Ingredients
- 1 cup superfine sugar (or blitz granulated sugar in a blender until finely ground but not powdery)
- 3 1/2 ounces (3 to 4 large eggs) egg whites
- Pinch of salt
Instructions
- Preheat Oven: Preheat the oven to 400˚F (200˚C). Line 2 baking sheets with parchment paper to prepare for baking the meringue bones.
- Heat Sugar: Pour the sugar into a baking dish and slide it into the preheated oven for about 4 minutes until the sugar is hot to the touch. This step helps dissolve the sugar better.
- Reduce Oven Temperature: Remove the sugar from the oven and immediately reduce the oven temperature to 225˚F (110˚C) for baking the meringues later.
- Whisk Egg Whites: In the bowl of a stand mixer or using a handheld electric mixer, whisk the egg whites and a pinch of salt until foamy.
- Beat with Sugar: Quickly add the hot sugar to the egg whites and whisk on medium-high speed until the meringue becomes very thick, super glossy, and white, about 6 to 8 minutes. The mixture should hold soft peaks and be stable enough to hold its shape when inverted.
- Pipe Shapes: Spoon the meringue into a piping bag or a large resealable plastic bag with a corner snipped off. Pipe a 4-inch strip on the baking sheet, then add two small blobs on each end to form a bone shape. Repeat, spacing the bones apart on the baking sheets.
- Bake: Bake the meringue bones at 225˚F (110˚C) for about 40 minutes until they are crisp and dry to the touch. Larger bones may require longer baking time.
- Cool: Turn off the oven and leave the meringue bones inside to cool down to room temperature to ensure they dry completely for the best texture.
- Store: Once cooled, store the meringue bones in an airtight container for 1 to 2 days for optimal freshness.
Notes
- Use superfine sugar or grind granulated sugar finely for better incorporation into the meringue.
- Ensure egg whites are at room temperature for maximum volume when whisking.
- Piping the bone shapes may require a few practice attempts to perfect.
- Keep the baked meringue bones in an airtight container to maintain crispiness.
- Baking time may vary depending on size; larger bones require longer baking to dry out completely.