
I absolutely adore these Perfect Peanut Butter Cookies Recipe that I recently perfected. From the moment I took that first bite, I knew this would become one of my all-time favorites. The cookies have this amazing soft-but-slightly-crisp texture with a rich peanut butter flavor that feels like a warm hug. I love that the recipe is straightforward, with simple ingredients that come together to make the most satisfying treat. Every time I bake these, my kitchen fills with the most inviting aroma, and I can’t wait to share them with friends and family.
Why You’ll Love This Perfect Peanut Butter Cookies Recipe
One thing I absolutely treasure about this recipe is the perfect balance of flavors. The creamy peanut butter teamed with a touch of honey and brown sugar creates a sweet and nutty combo that’s utterly irresistible. You get that subtle crunch from the finely chopped salted peanuts on the outside, which makes each bite a delightful mix of textures. I love how the cookies come out with a golden edge but stay soft and almost melt-in-your-mouth in the center. It’s peanut butter cookie perfection in every way.
Another reason I’m so excited about this recipe is how easy it is to prep. Seriously, if you have about an hour, you can have fresh cookies that rival any bakery’s. The dough chills in the fridge, building flavor and firmness, which makes the entire process super manageable, even on a busy day. These cookies also feel incredibly versatile — I’ve brought them to casual parties, holiday gatherings, and just as an indulgent treat on a weeknight. They always steal the show and get rave reviews, so I know you’re going to love them just as much as I do.
Ingredients You’ll Need
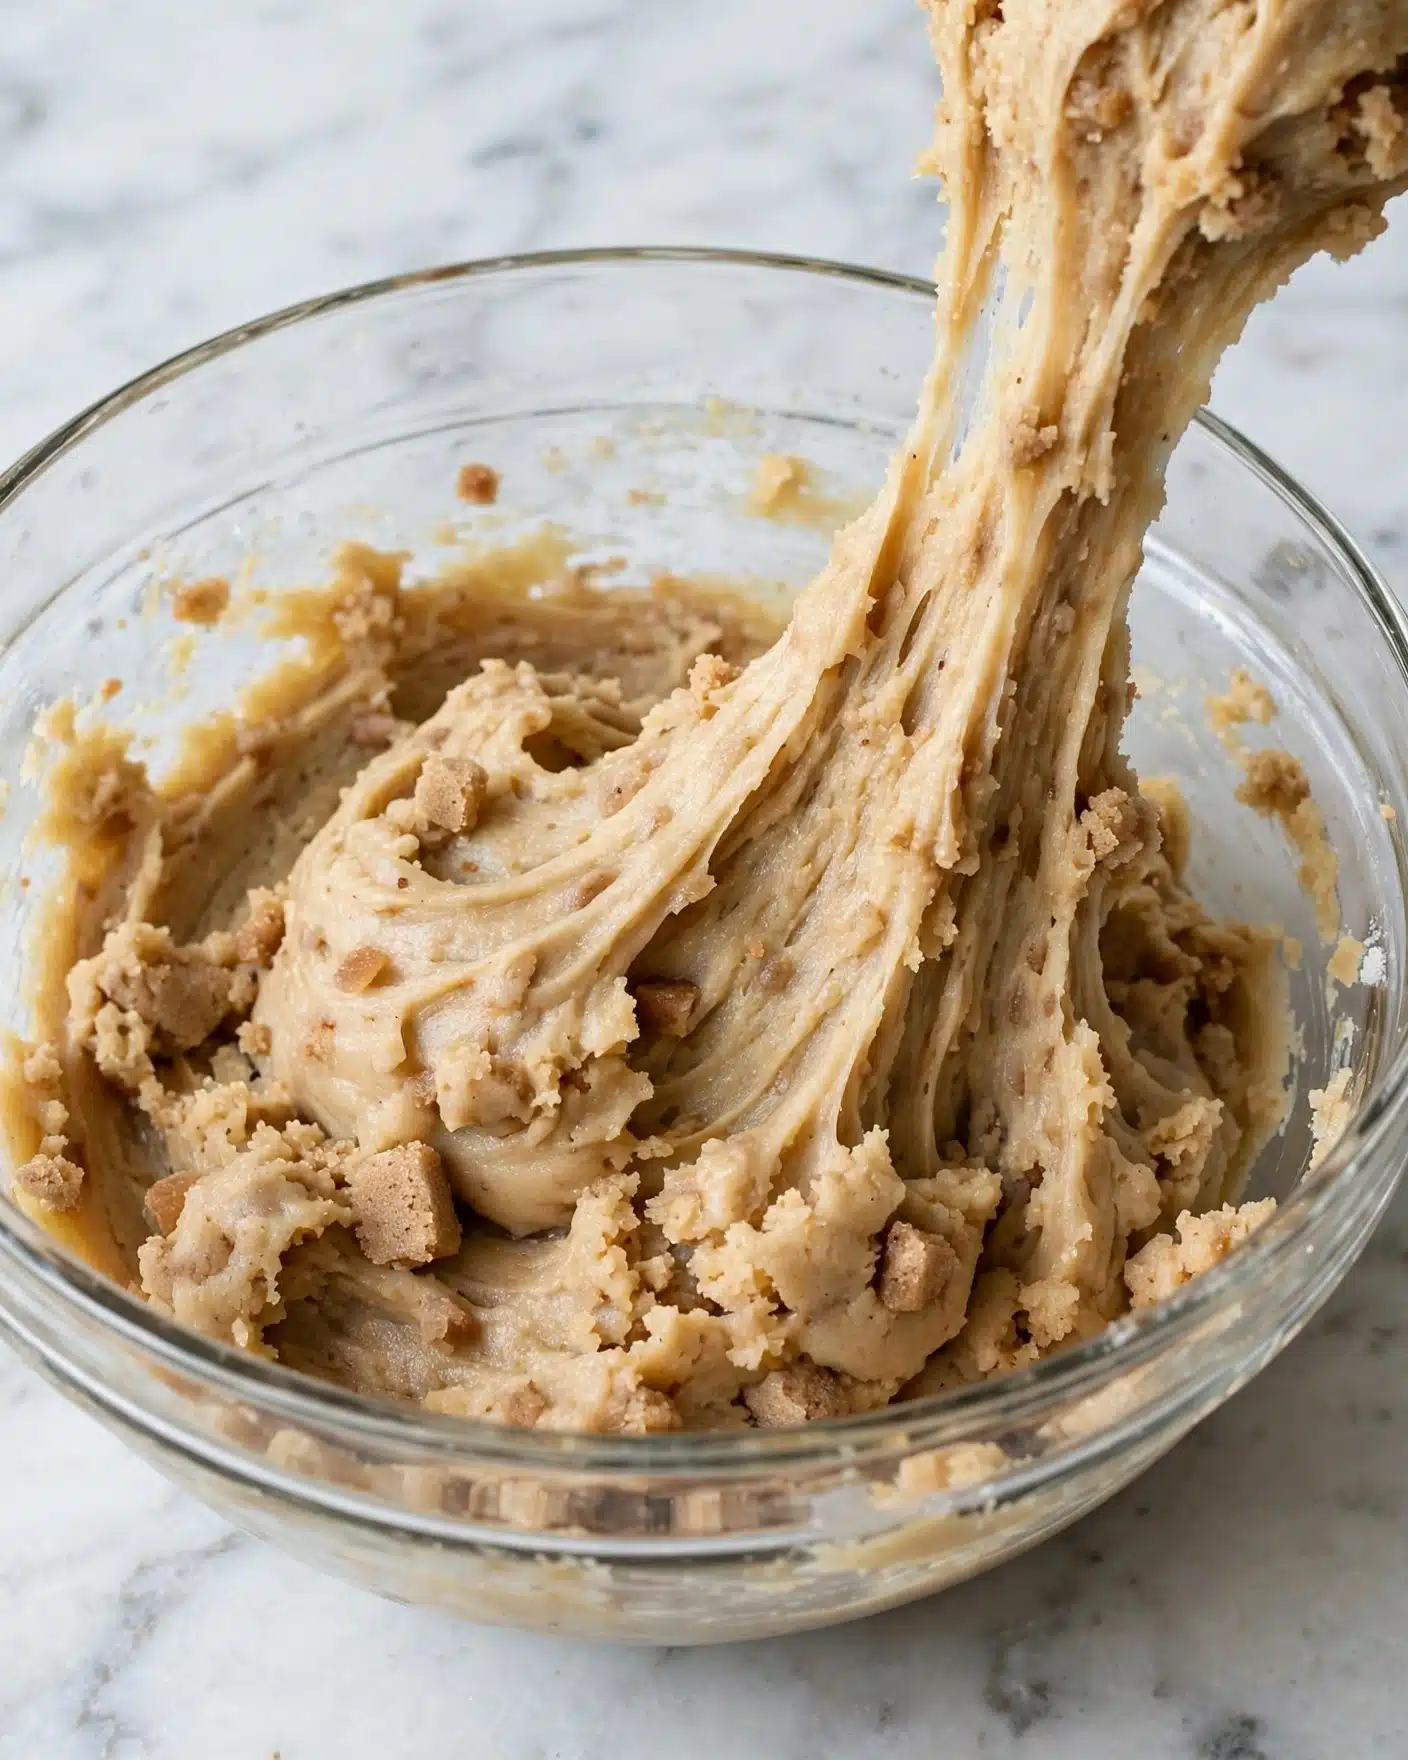
The magic of these Perfect Peanut Butter Cookies Recipe comes down to simple, quality ingredients. Each one plays a crucial role in building texture, flavor, and that classic golden color that makes these cookies so inviting.
- Unsalted butter: Room temperature butter gives the cookies a tender crumb and rich richness without overwhelming the peanut flavor.
- Creamy peanut butter: The star of the show, adding that unmistakable nutty depth and smooth texture.
- Light brown sugar: Adds moisture and a subtle molasses note that complements the peanut butter beautifully.
- Honey: A natural sweetener that also helps keep the cookies soft and chewy.
- Egg: Binds the dough together and gives the cookies structure.
- Vanilla extract: Enhances the overall flavor with warm, aromatic notes.
- Baking soda: Provides gentle rise and helps achieve that perfect cookie texture.
- Kosher salt: Balances the sweetness and enhances all the other flavors.
- Cornstarch: Keeps the cookies tender and soft by inhibiting gluten development.
- All-purpose flour: The base that holds everything together for that classic cookie bite.
- Granulated sugar and sparkling sugar: Added on the coating for a sweet crunch and a little sparkle.
- Rainbow sprinkles: For fun, colorful bursts, making these cookies visually irresistible.
- Dry roasted salted peanuts: Finely chopped to add a savory crunch on top.
Directions
Step 1: Start by combining the room temperature unsalted butter and creamy peanut butter in a large mixing bowl. I use a hand or stand mixer with a paddle attachment to get the mixture perfectly smooth and creamy.
Step 2: Add the light brown sugar to the bowl and mix again until everything is fully combined and silky.
Step 3: Next, stir in the honey, egg, and vanilla extract. These ingredients add moisture and depth to the dough, so don’t skip them.
Step 4: Incorporate the baking soda, kosher salt, and cornstarch into the mix, blending until the dough looks uniform.
Step 5: Now add the all-purpose flour. I switch to a rubber spatula here to fold it in gently, making sure there are no pockets of dry flour left behind.
Step 6: Cover the bowl tightly and chill the dough for at least 30 minutes. This step is crucial because chilling firms the dough, making it easier to handle and helping the cookies bake up thicker. If you want even thicker cookies, I recommend chilling the dough a couple of hours or even overnight.
Step 7: Preheat your oven to 350 degrees Fahrenheit and prepare a baking sheet by lining it with parchment paper.
Step 8: In a small dish, mix together the granulated sugar, sparkling sugar, rainbow sprinkles, and finely chopped dry roasted peanuts. This coating adds an irresistible crunch and makes the cookies look festive.
Step 9: Using a large cookie scoop (about 3 tablespoons), scoop the dough and roll each ball in the coating mixture. The dough is soft and slightly sticky, so take your time getting an even coating.
Step 10: Place four cookies on the baking sheet, giving them room to spread, and bake for 12 to 14 minutes. You’re looking for golden edges and centers that look pale, puffed, and just a touch underbaked.
Step 11: As soon as you pull the cookies from the oven, gently press the centers with the inside curve of a fork to create a classic peanut butter cookie pattern and ensure uniform size.
Step 12: Let the cookies rest on the pan for a couple of minutes—they need this short cooling time to set up—then transfer them to a cooling rack to finish cooling completely.
Step 13: These cookies taste best at room temperature when the texture is just right. Go ahead and enjoy!
Servings and Timing
This recipe yields approximately 15 delightful cookies—perfect for sharing or keeping all to yourself if you’re feeling indulgent. Prep time is about 15 minutes, but remember to account for the minimum 30-minute chilling period for the dough. Baking takes 12 to 14 minutes per batch, so total time, including chilling and baking, is just under 1 hour and 30 minutes. If you decide to chill overnight for thicker cookies, that will add a bit more to your timeline but it’s so worth the wait.
How to Serve This Perfect Peanut Butter Cookies Recipe
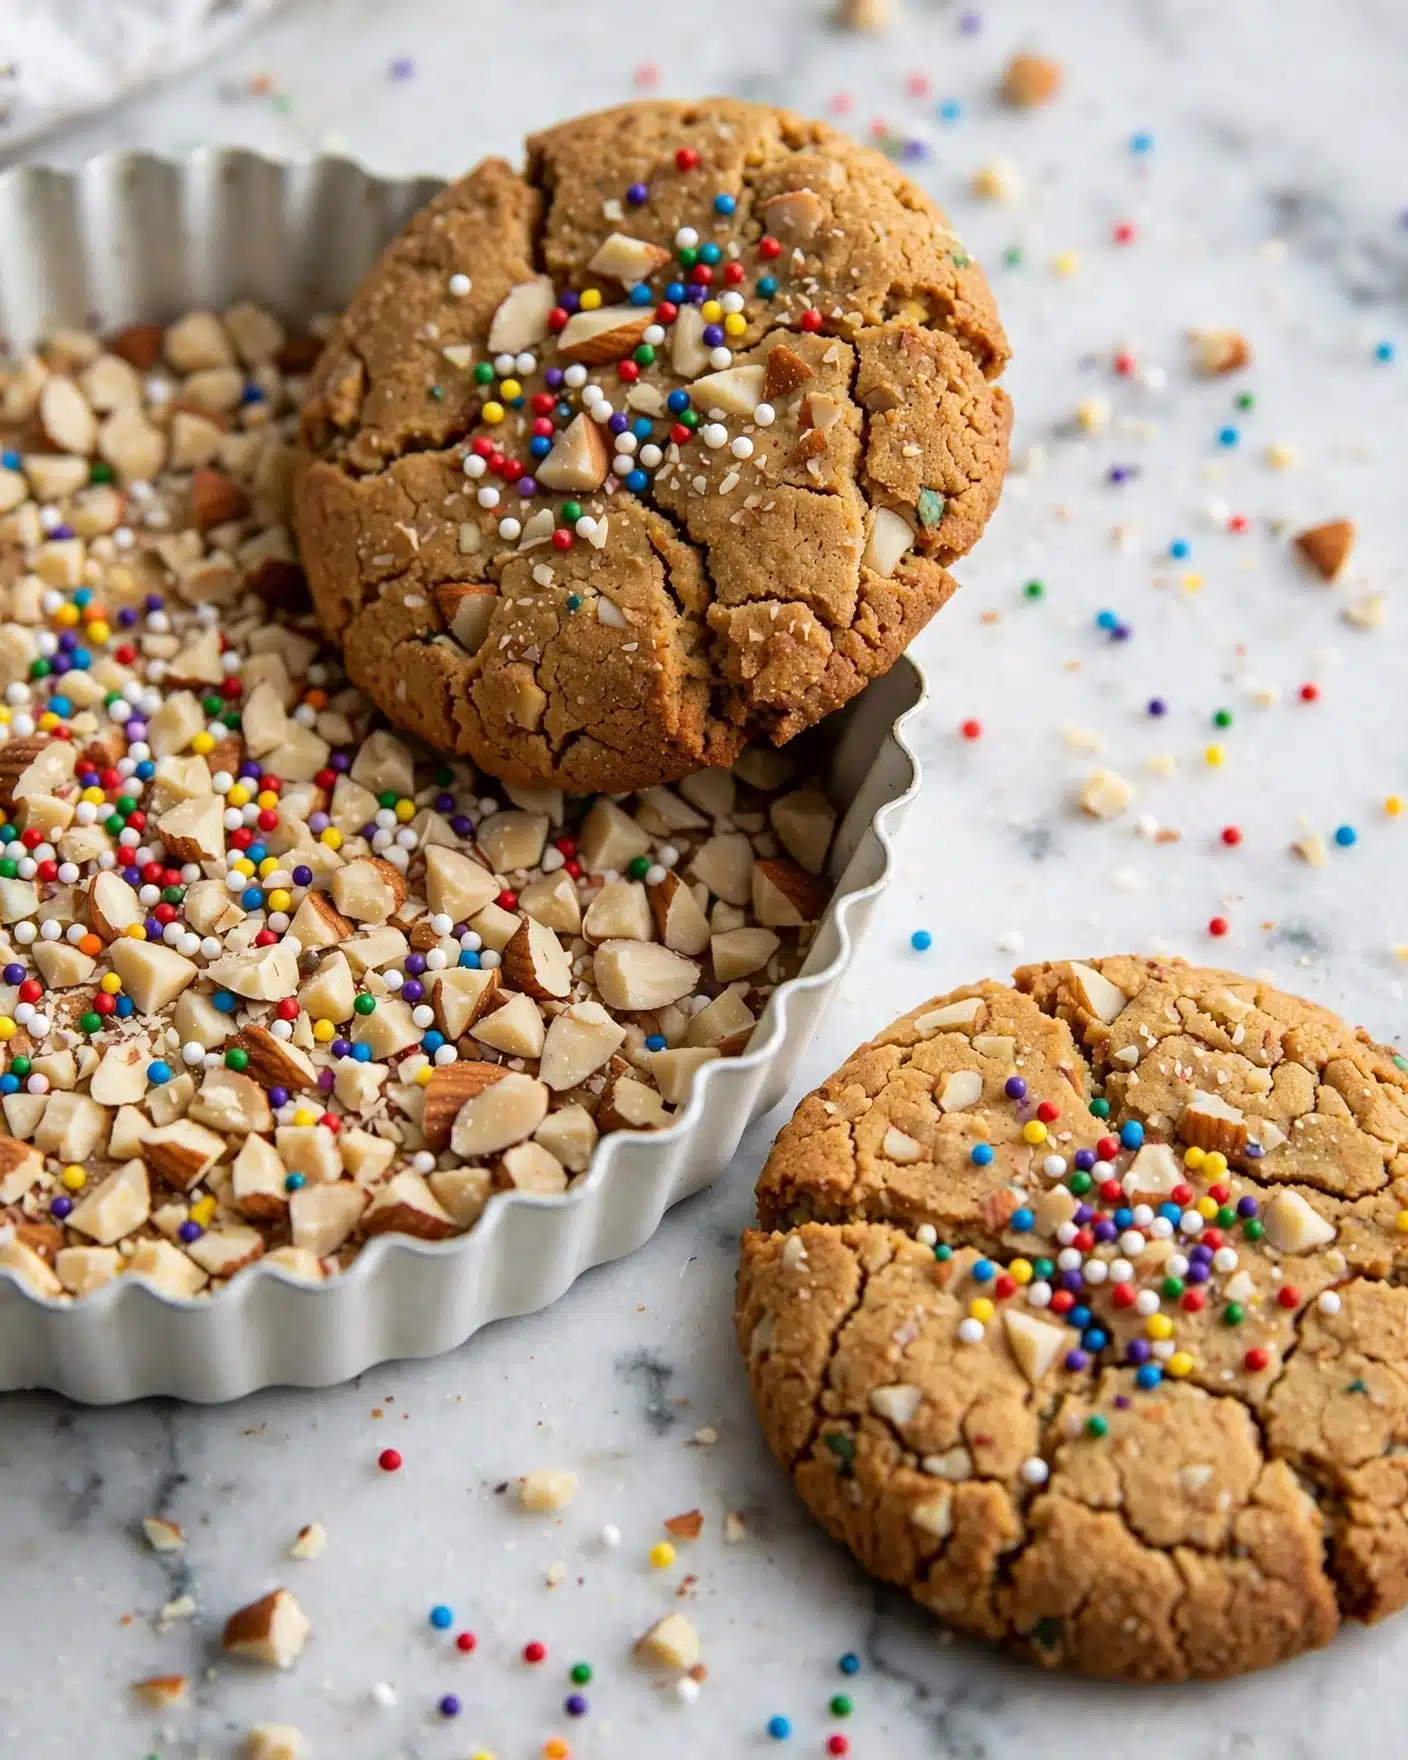
I love serving these cookies fresh at room temperature because it’s when the soft, chewy center and crunchy coating are at their absolute best. They pair beautifully with a glass of cold milk or a creamy latte for a cozy afternoon snack. For a playful twist at parties, I like to plate them alongside a bowl of vanilla ice cream and drizzle some warm chocolate sauce over the top—everyone always raves about that combination!
Presentation-wise, rolling them in those rainbow sprinkles and chopped peanuts adds such a cheerful, colorful touch that makes them a hit with kids and adults alike. For holiday gatherings, placing the cookies on a pretty platter with a few sprigs of fresh mint or edible flowers turns them into an elegant treat that guests will be eager to try.
For something a little different, I’ve even enjoyed them slightly warmed for about 10 seconds in the microwave so they’re gooey but not melted—perfect for cozying up with on a chilly evening. Whether it’s a casual family night, a festive holiday spread, or just because you deserve a sweet moment, these cookies fit every occasion.
Variations
If you love experimenting in the kitchen like I do, you’ll find plenty of ways to customize this Perfect Peanut Butter Cookies Recipe. For instance, swapping creamy peanut butter for natural or chunky varieties changes the texture and nuttiness to your preference. If you want a bit less sweetness, try replacing the light brown sugar with coconut sugar.
I’ve also adapted this recipe to be gluten-free by using a gluten-free all-purpose flour blend, which worked wonderfully without compromising the cookie’s tender crumb. For vegan versions, substitute the butter with a dairy-free spread and the egg with a flax egg or mashed banana—this gives a lovely soft texture and still bakes up beautifully.
If you’re feeling adventurous, you can experiment with adding chocolate chips for a delightful peanut butter-chocolate combo or a pinch of cinnamon for a warm spiced note. Instead of baking, these cookies also work great as no-bake balls if you adjust the ingredients slightly by adding some oats and chilling longer. The possibilities to make this recipe your own are endless, and I encourage you to have fun with it!
Storage and Reheating
Storing Leftovers
Once your cookies have cooled completely, store them in an airtight container at room temperature to maintain their chewy texture. They’ll stay fresh and delicious for about 4 to 5 days this way. If you want to keep the crunchy coating vibrant, I recommend layering the cookies separately with parchment paper to prevent sticking.
Freezing
This recipe freezes beautifully, which is perfect if you want to batch bake and enjoy cookies over time. Freeze the cooled cookies in a sealed freezer-safe container or a heavy-duty zip-top bag. You can also freeze the dough balls rolled in coating—just make sure to separate them well on a tray before bagging. Cookies can be kept frozen for up to 3 months. When ready to enjoy, thaw at room temperature for a couple of hours before serving.
Reheating
If you’re craving freshly baked warmth, gently warm your stored cookies in the oven at 300 degrees Fahrenheit for about 5 minutes. This brings back their just-out-of-the-oven softness without drying them out. I try to avoid microwaving since it can sometimes make them too soft or rubbery. Warming in a toaster oven or conventional oven is my go-to method to revive that perfect texture and flavor every time.
FAQs
Can I use crunchy peanut butter instead of creamy?
Absolutely! Using crunchy peanut butter will add little bits of peanut throughout the dough, which gives an extra crunchy texture. Just be mindful that the dough might be a bit more textured, but the overall flavor will be wonderful and just slightly different from the silky creaminess of the original.
What if I don’t have cornstarch?
If you don’t have cornstarch on hand, you can substitute it with an equal amount of arrowroot powder or potato starch. These alternatives have similar properties and will help keep the cookies tender. However, if you omit it completely, the cookies might be a little denser and less soft, so I wouldn’t recommend skipping it entirely.
Can I make these cookies without chilling the dough?
Technically, yes—but chilling the dough makes a huge difference in how the cookies spread and their final texture. Without chilling, the dough will be softer to handle and the cookies may spread too much, resulting in thinner, crispier cookies instead of thick, chewy ones. I highly recommend at least 30 minutes of chilling for the best results.
Are these cookies suitable for kids?
Definitely! These cookies are sweet, nutty, and fun to make and eat, making them a hit with kids and adults alike. Just double-check any peanut allergies before serving, and consider leaving out the rainbow sprinkles if you’re serving very young children to avoid any choking hazards.
Can I add chocolate chips to this recipe?
Yes, adding chocolate chips is a delicious way to elevate these peanut butter cookies. I usually fold in about 1/2 cup of chocolate chips into the dough after the flour is fully incorporated. It gives the cookies a lovely contrast of flavors and textures, so feel free to mix it up!
Conclusion
I genuinely can’t recommend this Perfect Peanut Butter Cookies Recipe enough. It has become my go-to when I want something comforting, delicious, and just plain fun to bake. Whether you’re sharing them with loved ones or savoring them slowly on your own, these cookies bring a little joy to every bite. Give this recipe a try—I promise you’ll be hooked just like I am!
Print
Perfect Peanut Butter Cookies Recipe
- Prep Time: 15 minutes
- Cook Time: 14 minutes
- Total Time: 1 hour 27 minutes
- Yield: 15 cookies
- Category: Dessert
- Method: Baking
- Cuisine: American
Description
These Perfect Peanut Butter Cookies are soft, chewy, and packed with rich peanut butter flavor. Featuring a mix of creamy peanut butter, honey, and a crunchy coating of rainbow sprinkles and finely chopped roasted peanuts, these cookies offer a delightful texture and sweetness. Chilling the dough ensures a thicker, tender cookie, perfect for a satisfying treat any time of day.
Ingredients
Cookie Dough
- 1/2 cup (108g) unsalted butter, room temperature
- 2/3 cup (175g) creamy peanut butter
- 3/4 cup (155g) light brown sugar
- 3 tbsp (57g) honey
- 1 large egg
- 1 1/2 tsp vanilla extract
- 3/4 tsp baking soda
- 1/4 tsp kosher salt
- 2 tsp cornstarch
- 1 1/3 cup (175g) all-purpose flour
Coating
- 3 tbsp granulated sugar
- 3 tbsp sparkling sugar (or more granulated sugar)
- 3 tbsp rainbow sprinkles
- 1/4 cup dry roasted salted peanuts, finely chopped
Instructions
- Mix Butter and Peanut Butter: In a large mixing bowl, use a hand or stand mixer with a paddle attachment to blend the unsalted butter and creamy peanut butter until smooth and creamy.
- Add Brown Sugar: Incorporate the light brown sugar into the mixture, continuing to mix until the batter is smooth and well combined.
- Add Honey, Egg, and Vanilla: Mix in the honey, followed by the egg and vanilla extract, ensuring each ingredient is fully blended before adding the next.
- Add Dry Ingredients: Stir in baking soda, kosher salt, and cornstarch until these are well combined into the wet mixture.
- Mix in Flour: Add the all-purpose flour, then switch to a rubber spatula and fold the flour in by hand to ensure thorough mixing without overworking the dough.
- Chill the Dough: Cover the bowl and chill for at least 30 minutes. For thicker cookies, refrigerate for a couple of hours or overnight. For overnight chilling, scoop and roll the dough first, then cover and refrigerate.
- Preheat Oven and Prepare Baking Sheet: Preheat the oven to 350°F (175°C) and line a large baking sheet with parchment paper.
- Prepare Coating: In a small dish, combine the granulated sugar, sparkling sugar, rainbow sprinkles, and finely chopped dry roasted salted peanuts. Add more sprinkles or peanuts if a heavier coating is desired.
- Scoop and Roll Dough Balls: Using a large cookie scoop (about 3 tablespoons), scoop dough balls, then roll each ball in the prepared coating mixture until evenly coated. The dough should be soft and slightly sticky.
- Arrange and Bake: Place 4 cookies spaced on the baking sheet. Bake for 12-14 minutes, until the edges turn golden while the centers remain pale, puffed, and slightly underbaked.
- Shape Cookies: Right after baking, use the inside curve of a fork to gently nudge each cookie to create a uniform shape and size.
- Cool Cookies: Let cookies rest on the baking sheet for a couple of minutes, then transfer to a wire rack to cool completely.
- Serve: These cookies are best enjoyed at room temperature. Store leftovers in an airtight container for up to 5 days.
Notes
- Chilling the dough longer results in thicker, chewier cookies.
- For a more pronounced coating, increase the amount of sprinkles and chopped peanuts.
- Use room temperature butter for easier mixing and better texture.
- Do not overbake; cookies should look slightly underdone in the center when removed from oven.
- Can be stored in an airtight container at room temperature for up to 5 days.


