I am absolutely thrilled to share this New York Cheesecake with Fresh Strawberry Topping Recipe with you because it’s one of those desserts I keep coming back to whenever I want to impress guests or just treat myself. This cheesecake has that classic rich, velvety texture with a tangy twist that only fresh strawberries can bring. The combination of a buttery graham cracker crust, creamy cheesecake filling, and a luscious, sweet-tart strawberry topping makes it a true showstopper. When I make it, each bite feels like a little celebration, and I just know you’ll feel the same once you try it!
Why You’ll Love This New York Cheesecake with Fresh Strawberry Topping Recipe
What I adore most about this New York Cheesecake with Fresh Strawberry Topping Recipe is its impeccable balance of flavors and textures. The cheesecake itself is decadently creamy with a subtle tang from the sour cream and lemon juice, giving it that authentic New York style richness that melts in your mouth. Then, on top, the fresh strawberry topping adds a bright, juicy contrast that makes every bite refreshing and irresistible. It’s like having a perfect harmony of indulgence and freshness all in one dessert.
Aside from the amazing flavor, I love how this recipe offers both simplicity and a sense of accomplishment. Sure, it takes some time to bake and chill, but the steps themselves are very straightforward and rewarding. I actually enjoy the process because it lets me slow down and savor the anticipation. Plus, this cheesecake is perfect for so many occasions—whether it’s a birthday celebration, a holiday dinner, or just a cozy weekend treat with family. Whenever I serve it, I always get asked for the recipe, and I’m always happy to share!
Ingredients You’ll Need
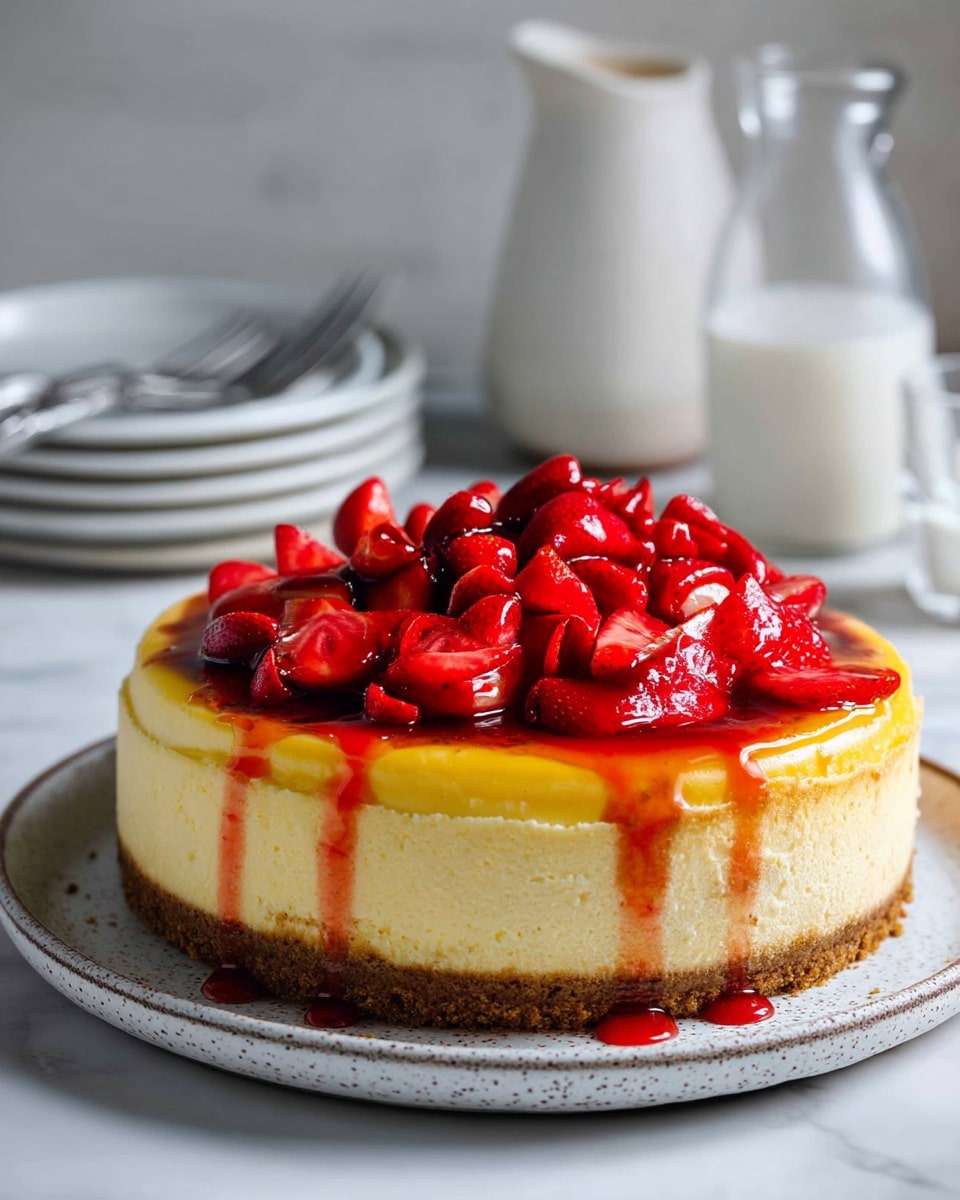
The ingredients for this cheesecake might look simple, but each one plays a crucial role in crafting the unforgettable taste and texture. From the buttery graham cracker crust to the creamy blend of cheeses and eggs, every component works together seamlessly. The fresh strawberry topping is a fun, bright finish that adds color and a burst of freshness.
- Graham cracker crumbs: The base of the crust, providing a crunchy, sweet foundation that contrasts beautifully with the creamy filling.
- Light brown sugar: Adds a subtle caramel flavor to the crust and helps create that perfect golden color.
- Unsalted butter: Melted and mixed with the crumbs to bind the crust with richness.
- Cream cheese: The star of the filling, giving the cheesecake its signature creamy texture and tangy flavor.
- Granulated sugar: Sweetens the filling just enough without overpowering the natural tang from the cheese.
- Sour cream: Adds moisture and a slight tang that enhances the smoothness of the cheesecake.
- Lemon juice: Brightens the flavor profile by adding a fresh, citrusy note.
- Vanilla extract: A classic flavor enhancer that rounds out the richness of the cream cheese.
- Egg yolks and whole eggs: Provide structure and creaminess, helping the filling set beautifully.
- Fresh strawberries: For the topping, offering natural sweetness and a vibrant pop of color.
- Strawberry jam: Thickens the topping and adds an extra layer of fruit flavor and glossiness.
Directions
Step 1: First, preheat your oven to 325 degrees F and lightly grease a 9-inch springform pan. I can’t stress enough how important the springform pan is for this recipe—it makes unmolding the cheesecake so much easier.
Step 2: To make the crust, stir together the graham cracker crumbs, brown sugar, and salt in a medium bowl. Pour the melted butter over the mixture and mix well until everything is moistened. Press this crust evenly onto the bottom and up the sides of your springform pan. Bake it for 11 to 13 minutes, until the edges just start to turn golden. Let it cool completely before moving on.
Step 3: Lower your oven temperature to 200 degrees F and adjust the rack to the lower-middle position. This low baking temperature is the secret to that luscious creamy texture without cracks.
Step 4: Now, beat the cream cheese, half of the sugar, and salt on medium-low speed until smooth (about 1 minute). Then add the other half of the sugar and beat again. Scrape down the bowl so everything blends perfectly.
Step 5: Mix in the sour cream, lemon juice, and vanilla extract on low speed. Then beat in the egg yolks, one minute at medium-low speed. Scrape the bowl well, then add the whole eggs two at a time, beating carefully for 30 seconds between additions. This slow mixing prevents too much air from incorporating, helping make your cheesecake dense and creamy.
Step 6: Pour this smooth filling over your cooled crust. Place the pan on the lower-middle rack and slide a rimmed baking sheet on the rack below to catch any drips. Bake for between 2 hours 15 minutes to 3 hours, until the cheesecake reaches 150 degrees F internally or has that perfect gentle jiggle in the center.
Step 7: Remove the cheesecake from the oven, increase the oven temperature to 500 degrees F, and when it reaches temperature, move the cheesecake to the upper-middle rack for 3 to 8 minutes to brown the top lightly. Keep a close eye here to avoid burning. Once browned, cool the cheesecake on a wire rack, then run a knife around the edges and allow it to cool to room temperature, at least 3 hours.
Step 8: Cover the cheesecake and refrigerate it for a minimum of 6 hours, but overnight is ideal. This chilling step really sets the flavors and makes slicing clean and easy.
Step 9: To make the fresh strawberry topping, toss the sliced strawberries with sugar in a large bowl and let sit for 30 minutes, stirring occasionally. Meanwhile, process the strawberry jam until smooth, simmer it on medium-high heat until thick and no longer frothy, about 3 minutes, then stir in lemon juice.
Step 10: Pour the jam mixture over the strawberries and combine gently. Cool to room temperature, then refrigerate the topping until cold and ready to serve. It’s best used within a day to keep the fresh texture.
Servings and Timing
This recipe makes about 16 generous servings, perfect for a crowd or a party. The prep time is approximately 1 hour, including making the crust and filling. The baking time spans 2 hours and 15 minutes to 3 hours, plus that quick browning step. Don’t forget the chilling time—which is at least 6 hours, and I recommend overnight—to let the flavors fully develop and the cheesecake to firm up. Altogether, you’re looking at roughly 12 hours from start to finish, but most of that is hands-off time, making this really doable even for a weekend treat.
How to Serve This New York Cheesecake with Fresh Strawberry Topping Recipe
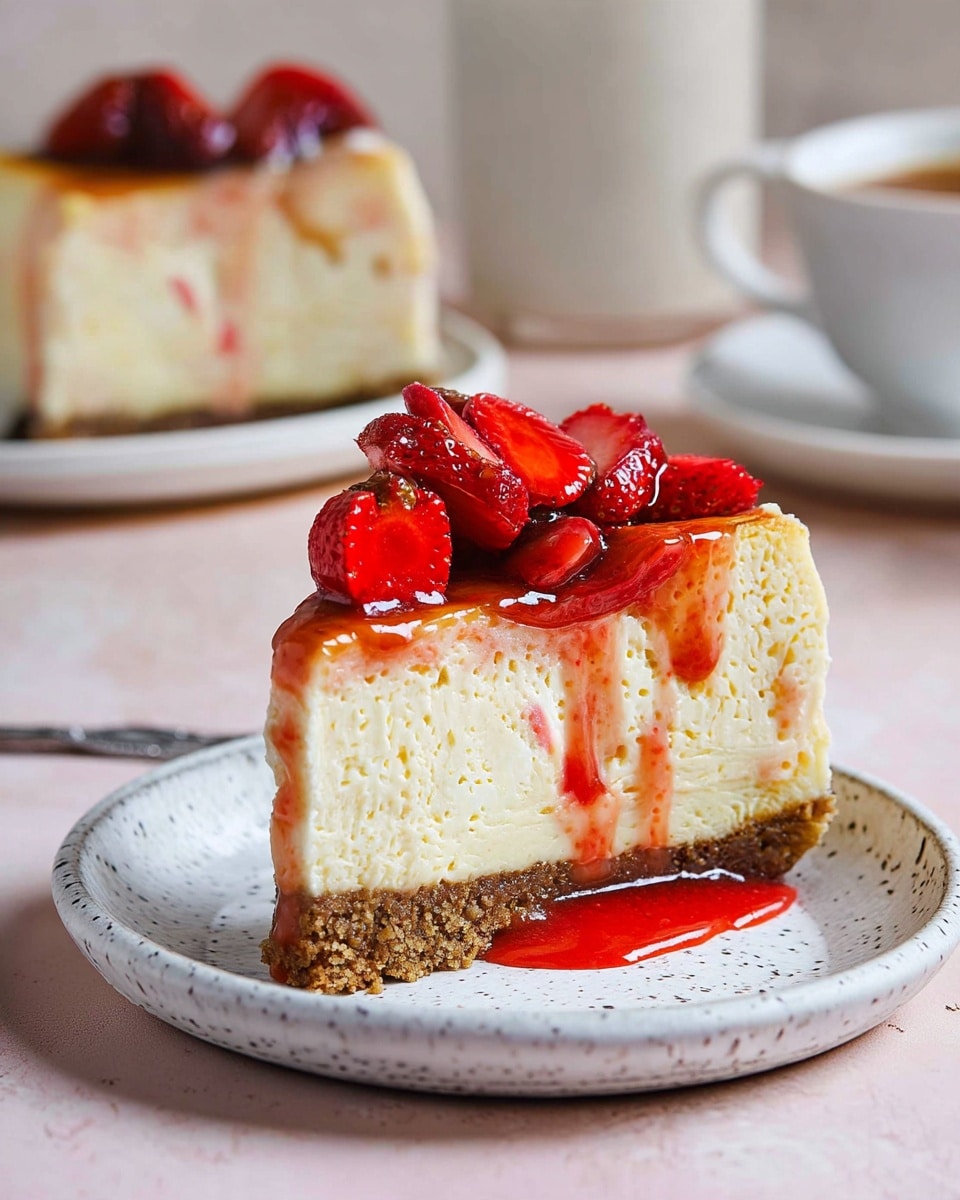
When it’s finally time to serve this cheesecake, I like to bring it to room temperature about 30 minutes before slicing. This softens the texture just enough and really allows the flavor to shine. I usually slice it into 16 pieces for a perfect balance between indulgence and portion control.
For an elegant presentation, I spoon a generous mound of the fresh strawberry topping right on each slice, letting those vibrant red berries cascade over the edges. If I want to get extra fancy, I might sprinkle some finely chopped fresh mint or a dusting of powdered sugar. I find these little touches elevate the dessert visually and add layers of flavor.
This cheesecake pairs wonderfully with a variety of drinks. A rich, buttery Chardonnay complements the creamy texture beautifully, while a sparkling rosé adds a refreshing counterpoint to the sweetness. For a non-alcoholic option, a chilled glass of sparkling water with a slice of lemon or a fruity iced tea works perfectly. I love serving this at family dinners, special celebrations, or even just weekend gatherings where the dessert should be a star. It’s always a crowd pleaser!
Variations
Over the years, I’ve played with different twists on this New York Cheesecake with Fresh Strawberry Topping Recipe to suit various tastes and dietary needs. For example, if you want a gluten-free version, swapping out the graham cracker crumbs for gluten-free digestive biscuits works seamlessly without sacrificing that golden crust texture. I’ve also experimented with a nut crust, using finely chopped almonds or pecans for extra crunch and flavor.
For those who prefer a lighter or vegan version, you can try replacing the cream cheese with a plant-based alternative and use coconut cream instead of sour cream. While the texture will be a bit different, you still get a lovely creamy and tangy dessert. I recommend using agar agar as a setting agent in vegan adaptations to mimic that traditional cheesecake firmness.
If you’re in the mood to mix up the flavors, I love adding a splash of espresso powder or melted bittersweet chocolate into the batter for a mocha or chocolate version. You can also swap the strawberry topping for other fruits like blueberries, raspberries, or even a caramelized peach topping. For a faster bake, some people use a water bath to gently steam-bake the cheesecake, but I prefer the slower, low-temp bake method because it produces a denser, velvet-smooth texture.
Storage and Reheating
Storing Leftovers
I always store leftover cheesecake in an airtight container or tightly wrapped in plastic wrap to keep it fresh and prevent it from absorbing any fridge odors. It will stay delicious for up to 4 days in the refrigerator. I like to keep the fresh strawberry topping separate if possible and add it just before serving the leftovers, as the strawberries can get a bit watery over time.
Freezing
You can definitely freeze this cheesecake if you want to prepare it ahead or save some for later. After chilling overnight, I wrap the whole cheesecake tightly in plastic wrap, then wrap it again in aluminum foil before placing it in a zip-top freezer bag. It keeps well for up to 3 months that way. If freezing slices individually, wrap each piece in plastic wrap, then place all wrapped slices into a freezer bag. When you’re ready, thaw in the refrigerator overnight for the best texture.
Reheating
I actually recommend serving this cheesecake chilled or at room temperature rather than reheating. The creamy texture doesn’t do well with heat and can become grainy or separate. If you want it less cold, just let it sit out for 20-30 minutes to soften slightly before enjoying. Avoid microwaving, as it changes the texture unfavorably. The fresh strawberry topping tastes best cold, so keep that in mind when serving leftovers.
FAQs
Can I make this cheesecake without a springform pan?
While technically possible, I strongly recommend using a springform pan for this recipe. The high sides and removable ring make it much easier to release the cheesecake without cracks or breaking. A regular cake pan can make unmolding a real headache, and you risk damaging that beautiful smooth edge.
How do I prevent cracks on the cheesecake surface?
The key to a crack-free cheesecake is gentle mixing to avoid too much air, baking at a low temperature, and not overbaking. Also, cooling gradually and not removing it too quickly from the pan helps. Running a knife around the edges after baking prevents cracking as it cools.
Can I prepare the strawberry topping in advance?
Yes, you can prepare the fresh strawberry topping up to 12 hours ahead and keep it refrigerated. Just be aware that the strawberries will release juices and soften, so it’s best to add the topping shortly before serving for maximum freshness and texture.
Is it necessary to brown the top of the cheesecake?
No, browning the top is optional, but I highly encourage it because it adds gorgeous color and a slight caramelized flavor. Just watch carefully to avoid burning, since it happens quickly. If you skip this step, the cheesecake will be paler but equally delicious.
What should I look for to know when the cheesecake is done baking?
The best way is to use an instant-read thermometer and remove the cheesecake at 150 degrees F internally. If you don’t have one, gently shake the cheesecake after 2 hours 15 minutes; the center should have a slight jiggle about 2 inches across, not liquid or firm all the way through.
Conclusion
I truly hope you give this New York Cheesecake with Fresh Strawberry Topping Recipe a try because it’s one of the most rewarding desserts I know how to make. It’s the kind of recipe that brings joy not only through its incredible taste but also in the process of baking and sharing it. Whether you’re celebrating a special occasion or simply craving something fantastic, this cheesecake is a wonderful way to make moments sweeter. Happy baking, and I can’t wait to hear how yours turns out!