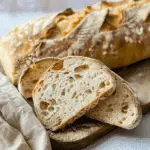
A rustic Italian-style bread, ciabatta is known for its crisp crust and wonderfully airy, chewy interior. I make this at home using just a few simple ingredients, and the result is an artisan-style loaf that feels like it came straight from a bakery. Perfect for sandwiches, bruschetta, or simply warm with olive oil, this recipe brings the flavors of Italy into my kitchen.
Why You’ll Love This Recipe
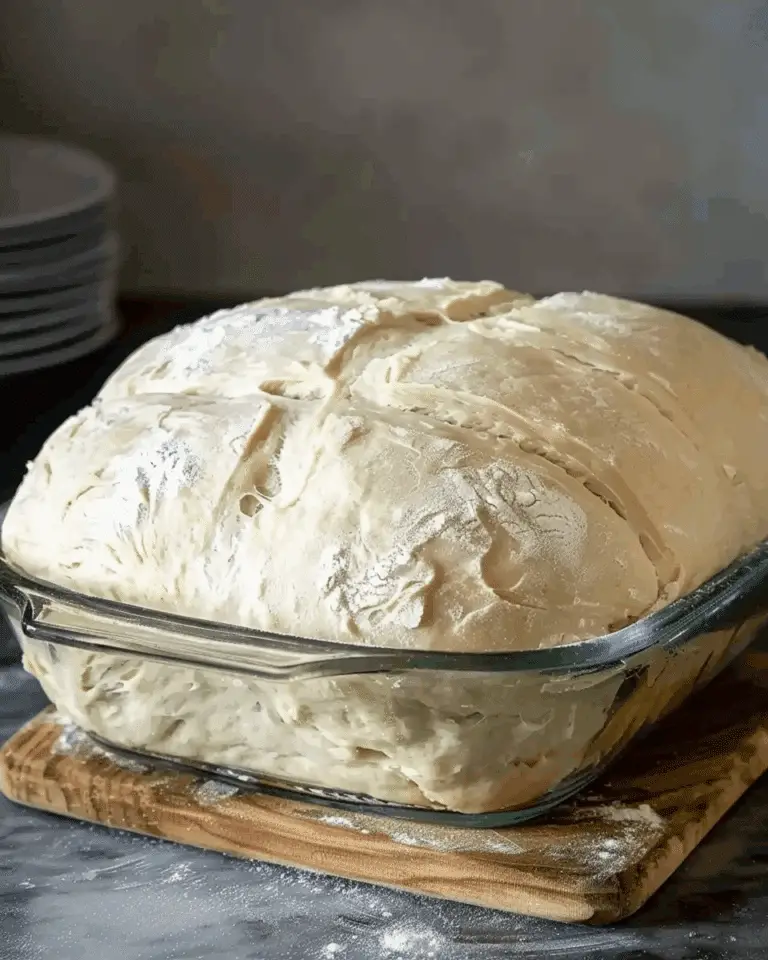
I love how approachable this recipe is, even though the bread looks and tastes like something that took all day. Ciabatta has a soft, open crumb and that distinctive crusty shell I crave in a good loaf. The dough is wet and sticky, but that’s exactly what gives the bread its signature texture. With just a handful of ingredients and a bit of patience, I get two beautifully golden loaves that smell heavenly fresh out of the oven. Plus, the process is flexible—if I want to develop deeper flavor, I just refrigerate the dough overnight.
Ingredients
(Here’s a tip: Check out the full list of ingredients and measurements in the recipe card below.)
-
500 g bread flour (or strong white flour)
-
400 ml water (room temperature)
-
2 tsp salt
-
½ tsp instant yeast
-
Olive oil (for greasing bowl or drizzling, optional)
Directions
-
I start by mixing the flour, yeast, and water in a large bowl until it becomes a sticky, shaggy dough.
-
Then I let it rest, uncovered, for about 20–30 minutes to allow the flour to fully hydrate (this is called autolyse).
-
I gently fold in the salt, making sure not to deflate the dough.
-
I cover the bowl and let the dough rise at room temperature for 1 to 1½ hours, doing a set of gentle stretch-and-folds every 30 minutes to build structure.
-
After the bulk rise, I transfer the dough onto a floured surface and carefully shape it into a rectangle or slipper-like shape, trying not to lose those precious air pockets.
-
I place the shaped loaves (or rolls) onto parchment-lined baking sheets, dust lightly with flour, and let them proof for 45–60 minutes, until puffy.
-
While they proof, I preheat the oven to 220 °C (425 °F). To get a crusty crust, I add steam—either with a tray of ice at the bottom of the oven or by misting water inside just before baking.
-
I bake the loaves on parchment for 20–30 minutes until they’re golden and sound hollow when tapped on the bottom.
-
After baking, I let them cool on a wire rack for 30–45 minutes before slicing to let the interior set properly.
Servings and timing
This recipe makes 2 loaves or 8 rolls, depending on how I shape the dough.
Prep time: 20 minutes (plus resting and proofing)
Cook time: 25 minutes
Total time: Around 2 to 3 hours from start to finish (including fermentation and proofing)
Variations
Sometimes I mix things up by adding olives, sun-dried tomatoes, or fresh rosemary to the dough just before shaping—it adds a flavorful twist without affecting the structure. For a whole wheat version, I swap 100–150 g of the bread flour with whole wheat flour. When I want a richer crust, I brush a bit of olive oil over the top before baking.
storage/reheating
Once the ciabatta is completely cooled, I store it at room temperature in a paper bag or wrapped in a kitchen towel to keep the crust crisp. It’s best eaten within 2 days, but if I need to keep it longer, I freeze the loaves tightly wrapped for up to 3 months. To reheat, I pop them in a 180 °C (350 °F) oven for about 10 minutes to bring back that fresh-baked texture.
FAQs
How do I handle such a sticky dough?
I make sure to flour my hands, the work surface, and the parchment paper generously. The stickiness is normal and essential for that airy crumb.
Can I use all-purpose flour instead of bread flour?
Yes, I can, but the texture might be slightly less chewy and open. Bread flour gives better structure thanks to its higher protein content.
What’s the purpose of adding steam during baking?
Steam helps develop a crisp, shiny crust. I either place a tray of ice in the oven or mist the walls with water when putting in the dough.
Can I refrigerate the dough overnight?
Absolutely. I often do this to enhance flavor. I just let the dough ferment slowly in the fridge overnight and bring it to room temp before shaping.
Why wait to slice the bread after baking?
If I slice too soon, the inside can be gummy. Waiting at least 30–45 minutes allows the structure to firm up for clean, airy slices.
Conclusion
Making homemade ciabatta might sound intimidating at first, but it’s honestly one of the most rewarding breads I bake. With just a few ingredients and some gentle hands, I get beautiful loaves that taste like they came from an artisan bakery. It’s the perfect bread for dipping, toasting, or building the ultimate sandwich—and once I’ve made it, I find myself coming back to this recipe again and again.
Print
Homemade Ciabatta Bread
- Prep Time: 20 min + resting
- Cook Time: 25 min
- Total Time: Approx 2 to 3 hours (including fermenting & proofing)
- Yield: 2 loaves (or 8 rolls, depending on shaping)
- Category: Bread
- Method: Yeast / Artisan
- Cuisine: Italian
- Diet: Vegetarian
Description
A rustic Italian-style bread with a crisp crust and airy, chewy interior, made at home from simple ingredients.
Ingredients
- 500 g bread flour (or strong white flour)
- 400 ml water (room temperature)
- 2 tsp salt
- ½ tsp instant yeast
- Olive oil (for greasing bowl or drizzling, optional)
Instructions
- In a large bowl, mix flour, yeast, and water until just combined into a sticky, shaggy dough.
- Let the dough rest, uncovered, for about 20–30 minutes (autolyse), so the flour hydrates.
- Add salt and gently fold it in, trying not to deflate the dough.
- Cover the bowl and let the dough ferment (bulk rise) for about 1 to 1½ hours, performing gentle stretch-and-folds every 30 minutes (lift a side of dough and fold over, turning bowl).
- After bulk fermentation, transfer to a well‑floured surface. Gently shape into a rough rectangle or “slipper” shape, trying to preserve air bubbles.
- Place the shaped loaves (or rolls) on parchment‑lined baking sheets, dusting lightly with flour. Cover and let proof for 45–60 minutes (or until puffy).
- Preheat oven to 220 °C (425 °F). To get a crusty exterior, add steam (e.g. a tray of ice or water in the oven bottom) or spray water inside the oven before baking.
- Slide the loaves (on parchment) into oven and bake for 20–30 minutes, until golden brown and hollow-sounding when tapped on the bottom.
- Remove from oven and cool on a rack for 30–45 minutes before slicing (to allow structure to set).
Notes
- Because ciabatta dough is very wet (high hydration), it’s normal for it to be sticky — use plenty of flour on work surfaces and parchment paper.
- Don’t rush shaping — be gentle so you don’t collapse too much of the interior air.
- Steam at the start of baking helps form a crisp crust.
- Letting the bread cool adequately before slicing gives better texture and avoids a gummy interior.
- You can retard (chill) the dough in the fridge for longer fermentation to build more flavor.
Nutrition
- Serving Size: 1 slice (approx)
- Calories: ≈ 200 kcal
- Sugar: ≈ 0.5 g
- Sodium: ≈ 300 mg
- Fat: ≈ 1 g
- Saturated Fat: ≈ 0.2 g
- Unsaturated Fat: ≈ 0.8 g
- Trans Fat: 0 g
- Carbohydrates: ≈ 42 g
- Fiber: ≈ 2 g
- Protein: ≈ 7 g
- Cholesterol: 0 mg


