
I absolutely love sharing this Cookie-Coated Caramel Apples Recipe with friends and family because it combines the nostalgia of caramel apples with a delightful cookie crunch that feels indulgent yet approachable. The way the rich caramel melts over the crisp apple and then gets a perfect crunchy cookie coating is simply irresistible. Every bite reminds me why this is one of my favorite treats, especially as the seasons change and gatherings call for something both festive and fun to eat.
Why You’ll Love This Cookie-Coated Caramel Apples Recipe
What really excites me about this Cookie-Coated Caramel Apples Recipe is the incredible flavor balance it nails so beautifully. The sweetness of the homemade caramel is luxuriously creamy and buttery, while the natural tartness of fresh apples cuts through it perfectly. Adding those crushed chocolate cookies on the outside adds a crispy, slightly bitter crunch that takes this classic treat to a whole new level. It’s that textural contrast that makes each bite so satisfying and memorable.
Beyond the amazing taste, I love how straightforward this recipe is to make, despite how impressive it looks and tastes. Making caramel from scratch might sound intimidating, but the steps are really manageable, and the rewarding result makes it worth every minute. It’s an ideal recipe for parties, fall festivals, or just a cozy weekend treat at home. The way it stands out is because it feels both homemade and gourmet, a combination that I absolutely adore sharing with anyone I serve it to.
Ingredients You’ll Need
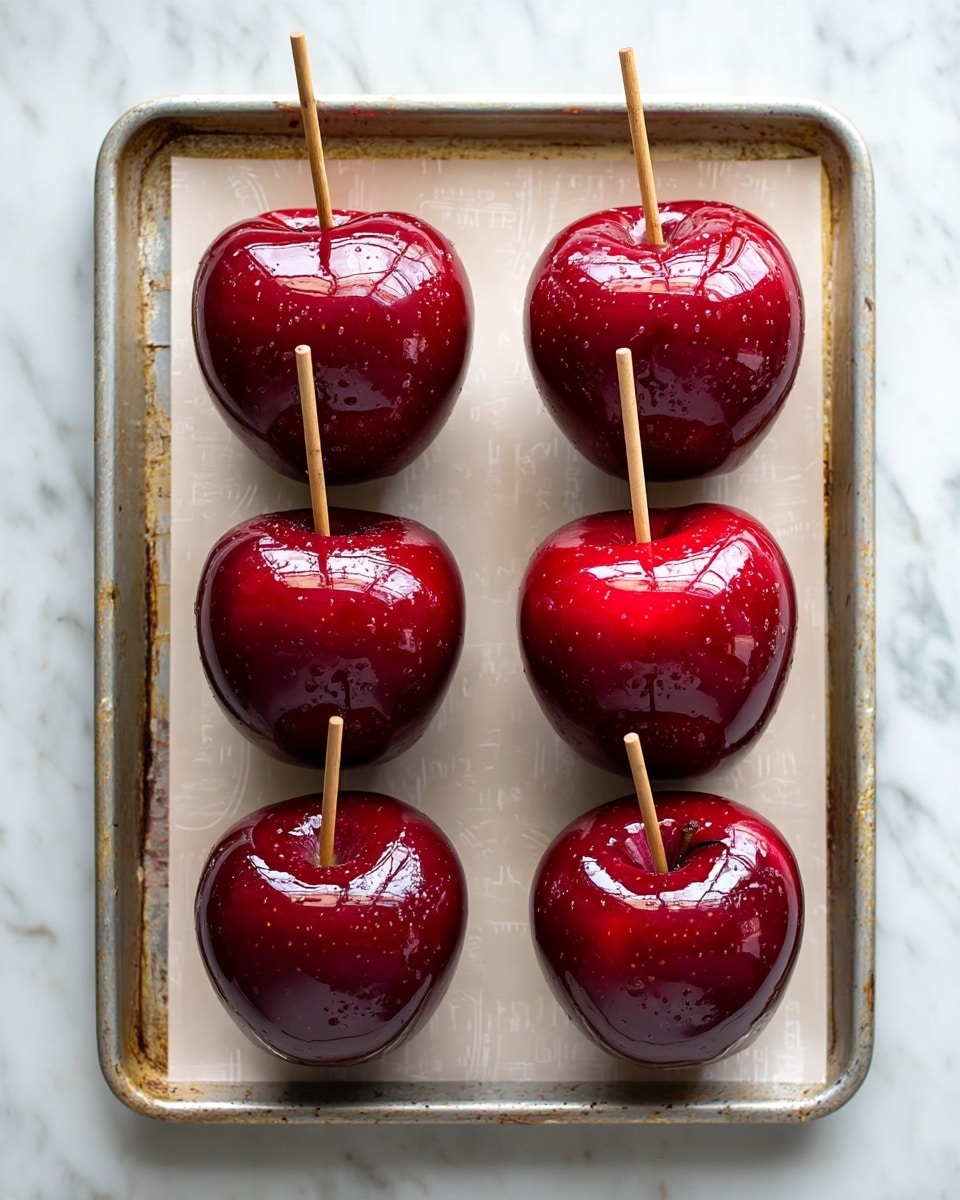
All the ingredients for this recipe are simple and easy to find, yet each plays a crucial role in delivering the rich flavor, smooth texture, and delightful appearance of these caramel apples.
- 8 apples: I choose firm, crisp apples like Granny Smith or Fuji for the best bite and tartness.
- Cooking spray: This prevents sticking when the apples set on the baking sheet.
- 4 cups sugar: The foundation for the caramel’s sweetness and structure.
- 1/4 cup corn syrup: Helps prevent crystallization and keeps the caramel silky smooth.
- 10 tablespoons unsalted butter, cut into pieces: Adds a rich, creamy depth to the caramel.
- 2 cups heavy cream, at room temperature: Makes the caramel luscious and velvety.
- Crushed chocolate cookies, for coating: Provide that irresistible crunch and a chocolatey finish that complements the apple and caramel perfectly.
Directions
Step 1: Start by inserting a wooden stick securely into the stem end of each apple. This will make dipping and eating so much easier. Then, prepare a baking sheet by coating it lightly with cooking spray—this keeps your finished apples from sticking.
Step 2: To make the caramel, melt the sugar and corn syrup together in a large pot over medium-high heat. Stir with a wooden spoon until the sugar dissolves and the mixture looks uniform. Don’t worry if it seems a bit grainy or clumpy at first; it will smooth out as it heats. Now, stop stirring and gently swirl the pot occasionally. Cook until the liquid turns a dark amber color and a candy thermometer reads 245°F—this usually takes 8 to 12 minutes.
Step 3: Once you see that perfect amber color, add all the butter pieces at once. Stir quickly until the butter is fully melted and incorporated. Then reduce the heat to medium and carefully pour in the room temperature heavy cream—the mixture will bubble up dramatically, so be cautious. Whisk continuously until the caramel is smooth and silky.
Step 4: Crank the heat back up to medium-high and continue cooking the caramel until it reaches 250°F on the candy thermometer, about 8 to 10 more minutes. Once done, turn off the heat and let the caramel cool for 5 to 10 minutes. This resting period helps it thicken just right for coating the apples.
Step 5: Dip each apple into the caramel, turning to coat it evenly. Before the caramel sets, roll the apple in the crushed chocolate cookies so they stick beautifully. Place each coated apple on the prepared baking sheet and let them set for 5 to 10 minutes before serving.
Servings and Timing
This recipe makes 8 delicious cookie-coated caramel apples, perfect for sharing with a small group or saving a few for later. Prep time is about 15 minutes, mainly to get the apples ready and the ingredients measured. Cooking the caramel will take roughly 20 to 25 minutes, including heating and precise temperature monitoring. Allow an additional 5 to 10 minutes for the caramel to cool and set before dipping and coating your apples. In total, you’re looking at just around 1 hour from start to finish, which feels like a wonderful investment for such a tasty treat.
How to Serve This Cookie-Coated Caramel Apples Recipe
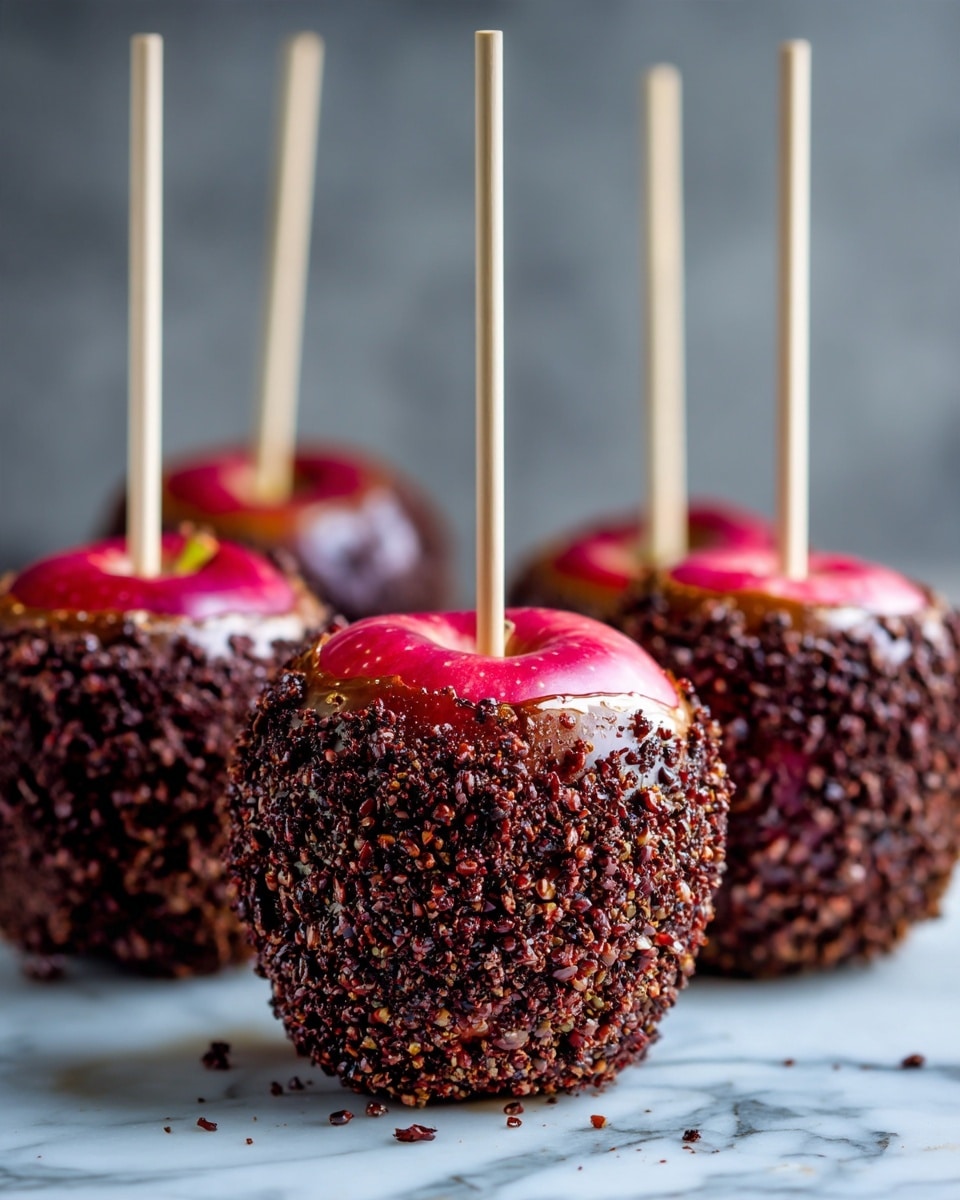
When it comes to serving these Cookie-Coated Caramel Apples, I love keeping it simple so the amazing textures and flavors truly shine. They’re fantastic as a centerpiece snack for a fall gathering or Halloween party—you can even display them standing upright in a decorative holder for a fun presentation. A light dusting of powdered sugar over the cookie coating adds a pretty touch and a slight extra sweetness if you’re feeling fancy.
I also enjoy pairing these apple treats with a warm cup of spiced cider or a glass of sparkling apple cider to complement the caramel’s rich buttery notes. For an adult twist, a crisp dry white wine or a caramel-flavored cocktail works wonderfully too. I prefer serving these apples at room temperature, which lets the caramel be gooey and the cookie crunch remain intact, though chilling them briefly can give a firmer bite if you like your apples extra crisp.
For portion sizes, one apple per person is usually perfect since these are pretty indulgent. If you’re serving at a party, setting out a platter with a few extras never hurts. These are such crowd-pleasers and perfect for sharing memories around a bonfire or during a cozy movie night at home.
Variations
I’ve experimented with a few fun twists on this Cookie-Coated Caramel Apples Recipe, and it’s amazing how flexible the concept is. For instance, swapping out the chocolate cookies for crushed graham crackers or even chopped nuts brings an entirely different flavor and texture profile that’s just as delightful. If you’re vegan or dairy-free, I recommend using coconut cream in place of heavy cream and a plant-based butter alternative; it’s surprisingly close in richness and works well with vegan caramel recipes too.
Flavor-wise, I’ve added a pinch of cinnamon or a splash of vanilla extract to the caramel to give it that cozy autumn vibe. You can also try incorporating a little sea salt into the caramel for a salted caramel twist that really pops against the sweetness of the apple and cookie coating. If you want to experiment with cooking methods, pouring the caramel over the apples rather than dipping can create a beautiful layered look, though it takes more patience to achieve an even coat.
Storage and Reheating
Storing Leftovers
If you end up with leftover cookie-coated caramel apples (which can be a happy problem!), store them in an airtight container at room temperature. I recommend placing parchment or wax paper between each apple to keep them from sticking together. They’ll stay fresh and delicious for up to 2 days like this, as the caramel and cookie coating remain chewy and crunchy at room temperature.
Freezing
Freezing isn’t my go-to for caramel apples because it can change the texture of the apple and caramel dramatically. However, if you need to freeze them, wrap each apple tightly in plastic wrap followed by foil to protect them from freezer burn. They can keep frozen for up to 1 month, but I suggest thawing them slowly in the refrigerator overnight before enjoying. Keep in mind the caramel might soften a bit after freezing.
Reheating
Reheating these apples is generally unnecessary since they’re best enjoyed at room temperature or slightly chilled. But if the caramel gets too firm or cold, bringing them to room temperature allows the caramel to soften naturally. Avoid microwaving, as it can cause uneven heating and make the caramel overly sticky or even burn. The best way to restore that perfect gooey texture is simply patience—let them sit out for about 20 to 30 minutes before serving.
FAQs
Can I use different types of apples for this recipe?
Absolutely! While I prefer crisp and tart apples like Granny Smith or Fuji for their balance of sweet and sour, you can use any firm apple. Just keep in mind that sweeter apples will alter the overall taste, making the treat sweeter rather than balancing the caramel’s richness.
How do I know when the caramel is ready?
The key indicator is the temperature—aim for 245°F to 250°F on a candy thermometer. The caramel should turn a rich dark amber. If you don’t have a thermometer, the caramel will gradually thicken and have a deep golden brown color, but using a thermometer ensures accuracy and the perfect texture.
Can I prepare the caramel ahead of time?
While you can make caramel in advance, it’s best to dip the apples shortly after the caramel cools to the right consistency. Reheating caramel can be tricky because it thickens and hardens. Freshly made caramel ensures the coating sticks well and has the ideal glossy finish.
What types of cookies work best for the coating?
Chocolate cookies are my favorite for their bittersweet crunch that complements the caramel and apple. You can use chocolate wafers, Oreos (ground finely), or other chocolate sandwich cookies. Feel free to experiment with different flavors, but keep the cookies finely crushed so they adhere well.
Is it possible to make this recipe gluten-free?
Yes! Simply use gluten-free cookies for the coating, which are widely available now. The rest of the ingredients are naturally gluten-free, so swapping in gluten-free cookies lets you enjoy this treat without compromise.
Conclusion
I hope you feel as inspired as I do to make this Cookie-Coated Caramel Apples Recipe your new go-to sweet snack. It’s the perfect blend of homemade comfort and that special touch that makes any occasion feel memorable. Trust me, once you try these cookies and caramel smothered on crisp apples, you’ll want to share them with everyone you love. Get ready to enjoy the gooey, crunchy, and utterly delicious magic in every bite!
Print
Cookie-Coated Caramel Apples Recipe
- Prep Time: 10 minutes
- Cook Time: 50 minutes
- Total Time: 1 hour
- Yield: 8 servings
- Category: Dessert
- Method: Stovetop
- Cuisine: American
Description
These Cookie-Coated Caramel Apples combine crisp, juicy apples with a rich, buttery homemade caramel and a crunchy chocolate cookie coating. Perfect for fall treats or festive gatherings, this recipe offers an indulgent twist on the classic caramel apple by adding a delightful cookie crunch.
Ingredients
Apples
- 8 apples
- Cooking spray
Caramel
- 4 cups sugar
- 1/4 cup corn syrup
- 10 tablespoons unsalted butter, cut into pieces
- 2 cups heavy cream, at room temperature
Coating
- Crushed chocolate cookies, for coating
Instructions
- Prepare the apples: Insert a wooden stick into the stem end of each apple to create a handle for dipping. Lightly coat a baking sheet with cooking spray and set aside to catch any drips after dipping.
- Make the caramel base: In a large pot over medium-high heat, combine the sugar and corn syrup. Stir with a wooden spoon until combined; it might clump initially but will smooth out as it melts. Avoid stirring after clumps dissolve. Instead, swirl the pan gently and cook until the mixture reaches a dark amber color and the candy thermometer reads 245°F, about 8 to 12 minutes.
- Add butter and cream: Remove the pot briefly from heat and add all the butter pieces at once, stirring until it’s fully incorporated. Reduce heat to medium and slowly pour in the room-temperature heavy cream. The mixture will foam vigorously—whisk continuously until the caramel is smooth.
- Cook to final temperature: Increase the heat back to medium-high and continue cooking the caramel until it reaches 250°F on a candy thermometer, about 8 to 10 minutes. Then turn off the heat and allow the caramel to cool for 5 to 10 minutes to thicken slightly.
- Dip and coat the apples: Holding each apple by the stick, dip it into the warm caramel, coating it evenly. Immediately roll the coated apple in crushed chocolate cookies to cover completely. Place the finished apples on the prepared baking sheet and let them set for 5 to 10 minutes before serving.
Notes
- Use firm, tart apples like Granny Smith for the best balance with sweet caramel.
- Heating the heavy cream to room temperature before adding prevents the caramel from seizing.
- A candy thermometer is essential for reaching the correct caramel consistency and ensuring a perfect set.
- Prepare crushed cookies in advance by placing chocolate cookies in a zip-top bag and crushing them with a rolling pin.
- Store leftover caramel apples in a cool place or refrigerator and consume within 2 days for best texture.


