
I am absolutely delighted to share my Chocolate Covered Cherry Crisp Recipe with you—a dessert that captures the sweet, juicy burst of cherries with the irresistible warmth of a chocolate chip oatmeal topping. Every bite feels like summer happiness, all wrapped up in a crisp, crumbly blanket that makes it feel extra special. This recipe is one I turn to when I want a comforting dessert that’s both elegant and effortless, enough to wow a crowd or simply enjoy on a quiet evening at home.
Why You’ll Love This Chocolate Covered Cherry Crisp Recipe
What truly makes this recipe stand out for me is the sensational harmony of flavors. The tartness of fresh dark sweet cherries melds beautifully with the deep richness of dark chocolate chips, all nestled under a warmly spiced, buttery oat crumble. The little hints of cinnamon and vanilla elevate it to something so memorable that every bite feels indulgent yet perfectly balanced.
I also adore how straightforward this recipe is. With preparatory steps that barely take 10 minutes and a single-pan baking approach, it’s incredibly approachable, even after a long day. It’s the kind of dessert that invites you to get creative but doesn’t demand an arsenal of fancy tools or ingredients. Plus, it’s great for so many occasions—warm and comforting for family dinners, festive enough for holiday celebrations, or just a joyful summer treat when cherries are at their peak.
Ingredients You’ll Need
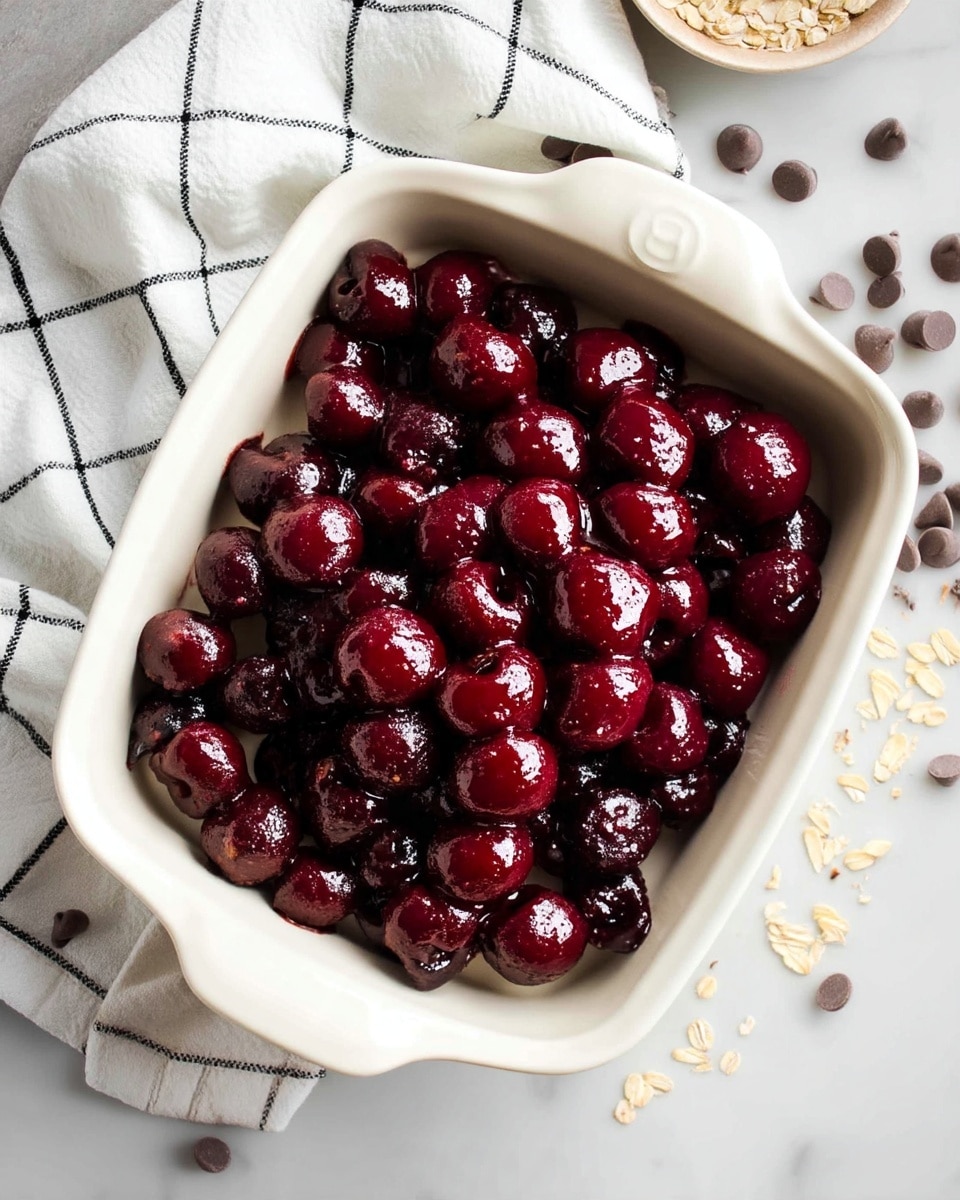
I’ve kept the ingredients simple yet purposeful, each playing a crucial role in achieving that perfect texture, flavor, and color that define this crisp. Using fresh cherries and quality chocolate transforms the overall experience, while the combination of oats and flour delivers a hearty, crispy topping.
- 2 pounds dark sweet cherries, pitted: Fresh, juicy cherries give the filling its signature burst of flavor and vibrant color.
- ¼ cup granular sugar: Adds just enough sweetness to balance the cherry’s natural tartness.
- 2 tablespoons brown sugar: Imparts warmth and depth to the fruit filling with its molasses notes.
- 2 tablespoons corn starch: Helps thicken the cherry juices to avoid a runny dessert.
- 1 teaspoon vanilla extract: Elevates the filling with a subtle, aromatic sweetness.
- 1 cup old fashioned oats: I use gluten-free oats to keep the topping chewy and hearty.
- 1 cup all-purpose flour: Provides structure and a delightful crispiness to the topping; I prefer Cup 4 Cup as a gluten-free option.
- ¾ cup brown sugar, lightly packed: Sweetens and adds moisture to the topping, keeping it tender.
- ½ teaspoon cinnamon: Brings a warm, comforting spice that pairs wonderfully with cherries.
- ⅓ teaspoon salt: Balances the sweetness and enhances all the flavors.
- 6 tablespoons unsalted butter, melted: Binds the topping together while giving richness and crunch.
- ¾ cup dark chocolate chips: The star of this recipe, melting into pockets of bittersweet delight throughout the crisp.
Directions
Step 1: Preheat your oven to 375 degrees Fahrenheit and grease a 9×9 inch baking pan or a large deep dish pie pan thoroughly to prevent sticking and ensure an easy release after baking.
Step 2: In a large mixing bowl, combine the pitted cherries, ¼ cup granular sugar, 2 tablespoons brown sugar, corn starch, and vanilla extract. Toss everything together until the cherries are evenly coated and the mixture looks slightly syrupy. This will form the juicy base for your crisp.
Step 3: Pour the cherry filling evenly into your prepared pan, spreading it out gently with a spoon or spatula to create an even layer.
Step 4: In a separate bowl, stir together the oats, flour, brown sugar, cinnamon, and salt until well incorporated. Then pour in the melted butter and mix until the mixture looks crumbly but holds together when pressed.
Step 5: Finally, carefully fold in the dark chocolate chips, making sure they’re evenly distributed throughout the topping.
Step 6: Spread the chocolate chip cookie crisp topping evenly over the cherry layer, covering it completely.
Step 7: Bake your crisp in the preheated oven for 30 minutes. You’ll want to watch for the topping to turn golden and crispy around the edges while the cherry filling bubbles up invitingly.
Step 8: Once out of the oven, let the crisp cool at room temperature for about 15 to 20 minutes. This allows the cherry juices to thicken slightly and makes serving much easier. I love pairing it with a scoop of vanilla ice cream for that perfect contrast of warm and cold.
Servings and Timing
This Chocolate Covered Cherry Crisp Recipe yields about 8 generous servings. The prep time is delightfully brief at 10 minutes, making it a quick recipe to throw together. Then, it bakes for 30 minutes, with an additional 15-20 minutes of cooling time to let everything settle. All in all, you’ll be enjoying this delicious dessert in about 40 minutes from start to finish, making it ideal for last-minute entertaining or an easy weekend treat.
How to Serve This Chocolate Covered Cherry Crisp Recipe
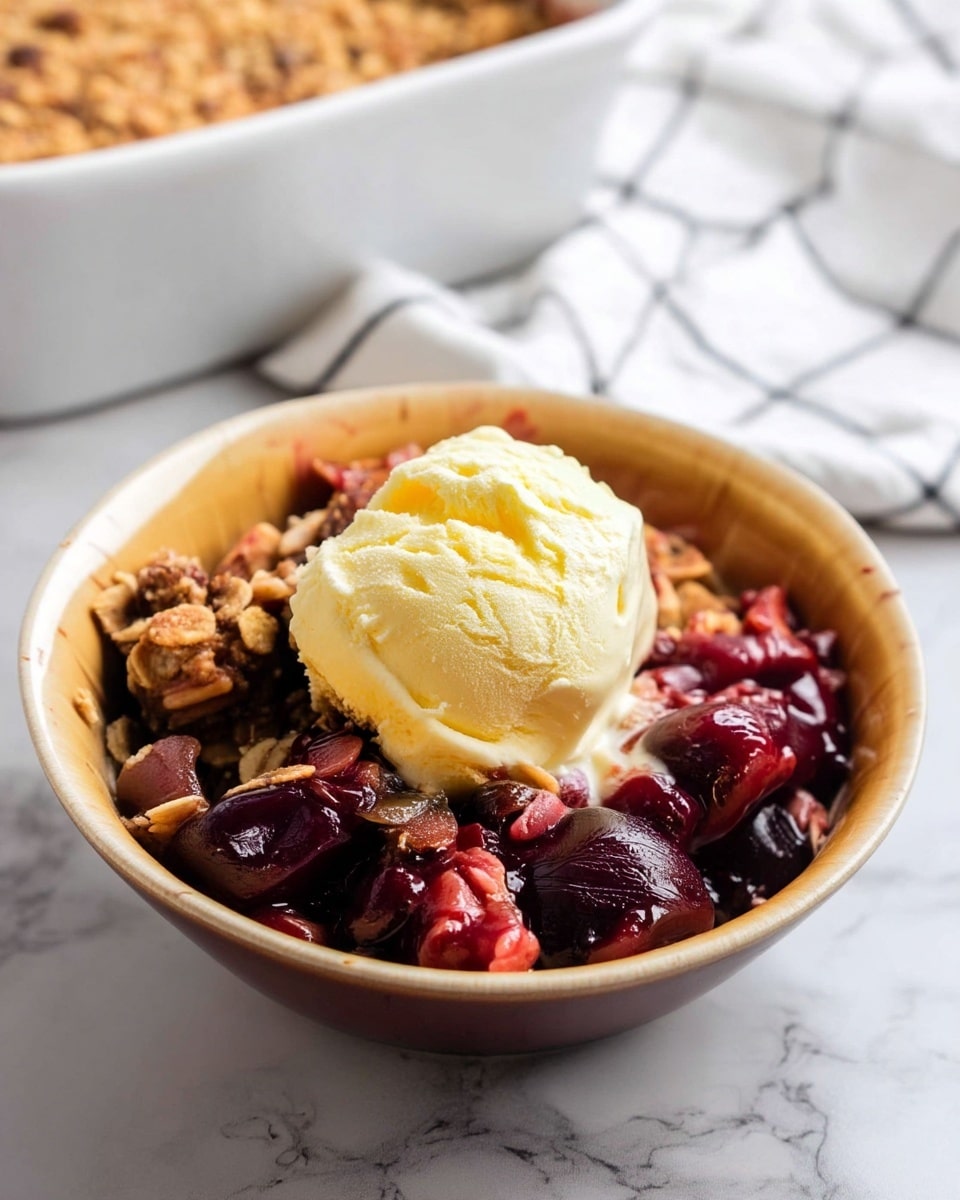
Serving this chocolate covered cherry crisp is one of my favorite parts of making it—I like to keep things simple yet elegant. A warm slice straight from the pan next to a big scoop of high-quality vanilla ice cream is unmatched. The ice cream melts slightly into the crisp’s bubbly cherry filling, creating a lovely blend of textures and temperatures that’s truly heavenly.
If you want to get a little fancy, topping it with a sprinkle of toasted almonds or a few fresh mint leaves can add a gorgeous visual and textural element that impresses guests. For plating, I usually cut modest portions of about ¾ cup, which feels just right after a big meal but still indulgent enough to satisfy a sweet tooth.
For beverages, this dessert pairs beautifully with a chilled glass of rosé or even a light, fruity cocktail like a cherry bourbon smash. On the non-alcoholic side, a cup of freshly brewed coffee or a fruity herbal tea compliments the deep cherry and chocolate flavors perfectly. It’s an absolute crowd-pleaser at family dinners, summer barbecues, or holiday gatherings when you want dessert to feel both cozy and celebratory.
Variations
I love how versatile this Chocolate Covered Cherry Crisp Recipe can be! If cherries are not in season, feel free to swap in frozen cherries—they work wonderfully, just remember to thaw and drain some juice to avoid a soggy bottom. Alternatively, mixed berries like blueberries or raspberries can bring delightful new flavor dimensions with a similar texture.
If you’re catering to dietary needs, I’ve had great luck making this dessert gluten-free by using gluten-free oats and your favorite gluten-free flour blend. For a vegan twist, simply swap the butter for coconut oil or a vegan butter alternative and make sure your chocolate chips are dairy-free. The chocolate-cherry combo still shines through beautifully!
For an extra burst of flavor, consider adding a splash of almond extract or a handful of toasted pecans in the topping. If you prefer a crispier texture, broiling the topping for the last two minutes of baking really intensifies the crunch without overcooking the fruit. There’s so much room here to make this recipe your own.
Storage and Reheating
Storing Leftovers
Leftover cherry crisp keeps wonderfully in an airtight container in the refrigerator for up to 3 days. I prefer a shallow glass container to preserve the texture and to easily see when it’s time to enjoy again. Before sealing, ensure the crisp has cooled completely to avoid condensation making the topping soggy.
Freezing
You absolutely can freeze this crisp if you want to save some for later. Freeze individual portions in freezer-safe containers or wrap the whole pan tightly with plastic wrap and then foil for longer storage. It’s best eaten within 2 months for optimal flavor. When you’re ready, thaw it overnight in the fridge before reheating.
Reheating
To reheat and restore the crisp’s signature crunch, I recommend warming servings in a preheated 350-degree oven for about 15 minutes. Avoid the microwave if you can, as it tends to make the topping soggy. Reheating slowly is key to bringing back that melty chocolate goodness and keeping the cherries warm and luscious.
FAQs
Can I use frozen cherries for this Chocolate Covered Cherry Crisp Recipe?
Yes! Frozen cherries work beautifully, especially when fresh cherries are out of season. Just be sure to thaw and drain any excess juice before mixing with the filling ingredients to prevent your dessert from becoming too watery.
Is this recipe gluten-free?
The original recipe uses all-purpose flour, but you can easily make it gluten-free by using gluten-free oats and a gluten-free flour blend like Cup 4 Cup. The crisp texture remains just as delightful!
Can I substitute the butter with oil?
You can substitute melted coconut oil or a neutral vegetable oil for the butter if you want a dairy-free or vegan crisp. Coconut oil adds a slight tropical note, so keep that flavor in mind. Otherwise, any light oil works fine.
What kind of chocolate chips should I use?
I love using dark chocolate chips for this recipe because their bitterness balances the sweetness of the cherries beautifully. You can use semisweet or even milk chocolate chips if you prefer a sweeter, creamier contrast.
Can I make this recipe ahead of time?
Definitely! You can assemble the crisp a few hours ahead and refrigerate it before baking, or bake it entirely and reheat just before serving. Both options allow flavors to meld even more, making the dessert taste extra comforting.
Conclusion
I can’t recommend this Chocolate Covered Cherry Crisp Recipe enough if you’re looking for a dessert that feels like a hug in a bowl. It’s simple, bursting with flavor, and warm enough to share with everyone you love. Next time you want to celebrate the joy of cherries and chocolate in a cozy, crunchy way, give this recipe a try—you’ll be so glad you did.
Print
Chocolate Covered Cherry Crisp Recipe
- Prep Time: 10 minutes
- Cook Time: 30 minutes
- Total Time: 40 minutes
- Yield: 8 servings
- Category: Dessert
- Method: Baking
- Cuisine: American
- Diet: Vegetarian
Description
This Chocolate Covered Cherry Crisp is the ultimate Summer treat featuring fresh dark sweet cherries topped with a chocolate chip oatmeal cookie crumb topping, baked to perfection for a warm, indulgent dessert.
Ingredients
For the Cherry Filling
- 2 pounds dark sweet cherries, pitted
- ¼ cup granular sugar
- 2 tablespoons brown sugar
- 2 tablespoons corn starch
- 1 teaspoon vanilla extract
For the Chocolate Chip Cookie Crisp
- 1 cup old fashioned oats (gluten free if preferred)
- 1 cup all-purpose flour (Cup 4 Cup recommended)
- ¾ cup brown sugar, lightly packed
- ½ teaspoon cinnamon
- ⅓ teaspoon salt
- 6 tablespoons unsalted butter, melted
- ¾ cup dark chocolate chips
Instructions
- Preheat and Prepare Pan: Preheat your oven to 375°F (190°C). Grease a 9×9 inch baking pan or a large deep dish pie pan to ensure the crisp doesn’t stick.
- Make the Cherry Filling: In a large mixing bowl, combine the pitted dark sweet cherries, granular sugar, brown sugar, corn starch, and vanilla extract. Toss everything together until well mixed, then pour the mixture evenly into the prepared baking pan.
- Prepare the Topping: In a separate bowl, stir together the old fashioned oats, all-purpose flour, brown sugar, cinnamon, and salt. Pour in the melted butter and mix thoroughly until the ingredients form a crumbly mixture. Finally, gently fold in the dark chocolate chips.
- Assemble and Bake: Spread the chocolate chip oatmeal topping evenly over the cherry filling. Place the pan in the preheated oven and bake for 30 minutes until the topping is golden and crisp.
- Cool and Serve: Remove the crisp from the oven and let it cool at room temperature for 15-20 minutes. Serve warm, ideally with a scoop of vanilla ice cream for an extra special treat.
Notes
- Using fresh, pitted cherries is essential for the best flavor; frozen cherries can be used but may release more liquid.
- Gluten-free oats and flour can be used to make this recipe gluten-free.
- Allow cooling time so the filling can set and prevent burning your mouth when serving.
- Optional: serve with vanilla ice cream or whipped cream for added richness.
- To avoid an overly runny filling, make sure the corn starch is well mixed with the cherries and sugars.


