
I absolutely adore this Cheese and Garlic Crack Bread (Pull Apart Bread) Recipe because it combines so many of my favorite things: buttery garlic, ooey-gooey cheese, and a crusty loaf you can rip apart with your hands. Whenever I make this, it fills the kitchen with a heavenly aroma that instantly makes everyone gather ’round. It’s comfort food at its finest, yet so simple to prepare that it quickly became a staple in my home. If you’re looking for a show-stopping yet easy appetizer or snack, this recipe is definitely one to bookmark and share.
Why You’ll Love This Cheese and Garlic Crack Bread (Pull Apart Bread) Recipe
What makes this recipe truly special for me is the incredible flavor profile. The garlic-infused butter seeps into every crack and crevice of that crusty bread, while the mozzarella melts perfectly to create pockets of deliciousness you just can’t resist. There’s this perfect balance of crispy edges and soft, gooey cheese inside that’s honestly addictive. Every bite feels like a warm hug that satisfies your craving for something savory, rich, and utterly comforting.
Aside from the mouthwatering taste, I love how easy this Cheese and Garlic Crack Bread (Pull Apart Bread) Recipe is to make. Even on busy days, popping this in the oven takes little time and effort. It doesn’t require fancy ingredients or complicated steps—just a few simple things that you probably already have in your kitchen. It’s perfect for casual family dinners, weekend get-togethers, or when you want to impress friends without slaving over the stove. Honestly, it stands out as a crowd-pleaser that never disappoints.
Ingredients You’ll Need
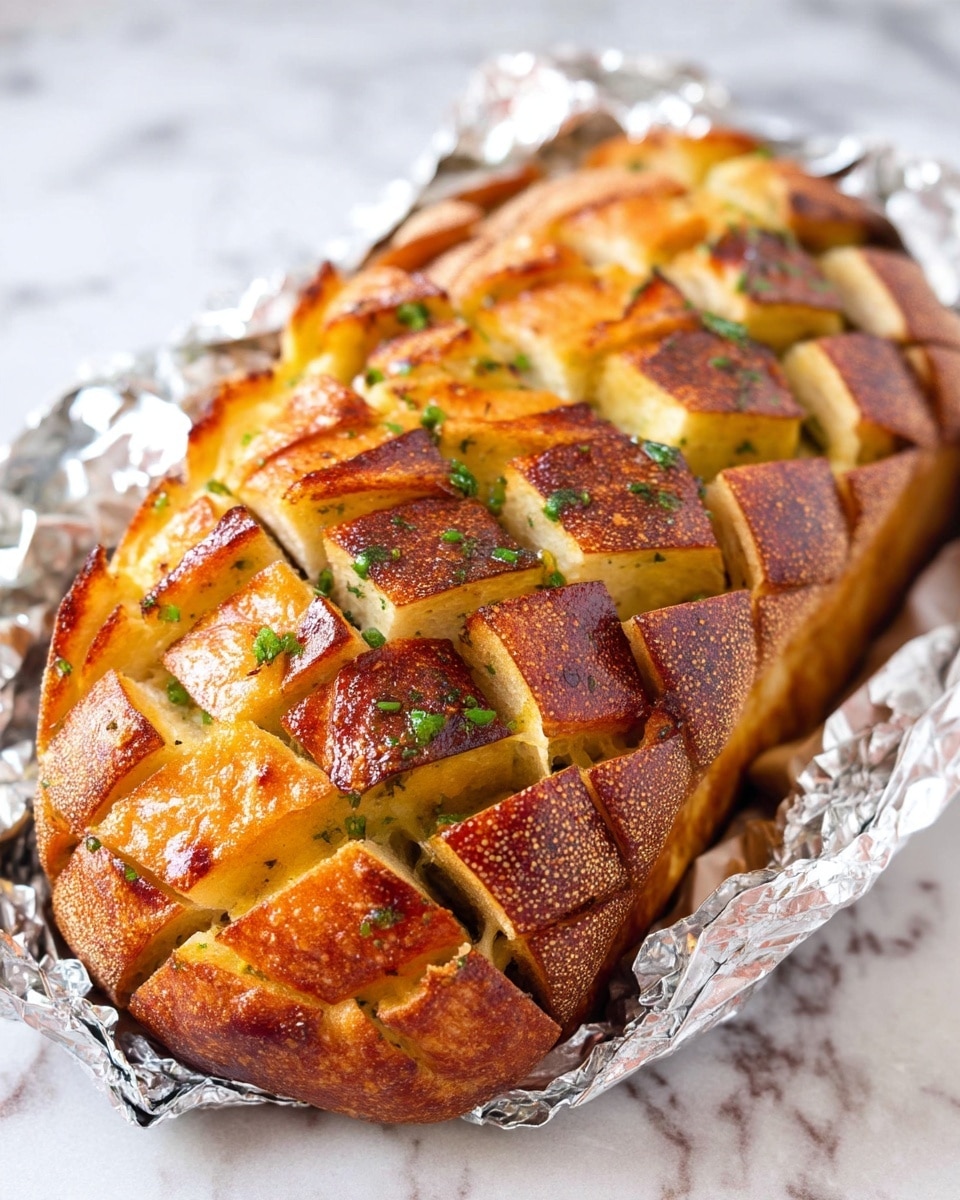
The best part about this recipe is how straightforward the ingredients are. Each one plays a crucial role in creating that perfect blend of flavors, textures, and colors — from the crunchy crust of the bread to the luscious garlic butter and melty cheese inside.
- Crusty loaf: I prefer sourdough or Vienna bread because their firm crust holds up well to the cracking and stuffing without getting soggy.
- Shredded Mozzarella cheese: Use mozzarella or any good melting cheese for that oozy, stringy texture everyone loves.
- Unsalted butter: Softened, so it mixes easily with garlic and flavors the bread perfectly.
- Garlic cloves: Fresh and minced for that punch of aromatic garlicky goodness.
- Salt: Enhances all the flavors without overpowering the bread.
- Fresh parsley: Finely chopped for a burst of color and subtle herbaceous note.
Directions
Step 1: Preheat your oven to 180C (350F). This ensures a hot and even bake, helping the cheese melt perfectly while crisping the bread’s crust.
Step 2: In a heatproof bowl, combine the softened butter, minced garlic, and salt. Microwave briefly until melted, then stir in the fresh parsley. This garlic butter blend is the magic that infuses the bread with incredible flavor.
Step 3: Take your crusty loaf and slice it diagonally into 2 cm (1 inch) diamonds, making sure not to cut all the way through. The cracks create pockets for cheesy, buttery goodness to seep in later — a small step that makes all the difference.
Step 4: Using your fingers or a small knife, gently pry open each crack. Drizzle a teaspoon of the garlic butter inside and stuff a small pinch of cheese into every opening. Trust me, it might feel a bit fiddly, but the effort is so worth the delicious payoff. Don’t worry if you get some butter on the crust – it makes the exterior beautifully golden and flavorful.
Step 5: Brush the remaining garlic butter evenly over the surface of the bread. This creates a radiant, golden crust when baked.
Step 6: Wrap the bread tightly in foil and bake for 20 minutes. At this point, the cheese should be just about melted inside. Then remove the foil and bake for another 5 to 10 minutes until the bread turns crisp and golden to your liking.
Step 7: Serve immediately while it’s warm and cheesy. Pull apart the bread with your hands and enjoy the irresistible flavors that this Cheese and Garlic Crack Bread (Pull Apart Bread) Recipe delivers.
Servings and Timing
This recipe serves about 8 hungry people, making it a fantastic option for sharing at gatherings or family meals. The prep time is roughly 10 minutes, mostly cutting and assembling the bread, while baking takes about 25 to 30 minutes total. That means from start to finish you’re looking at about 40 minutes, which is wonderfully quick for such a crowd-pleasing treat. There’s no resting time needed—this bread is best enjoyed fresh and warm straight from the oven.
How to Serve This Cheese and Garlic Crack Bread (Pull Apart Bread) Recipe
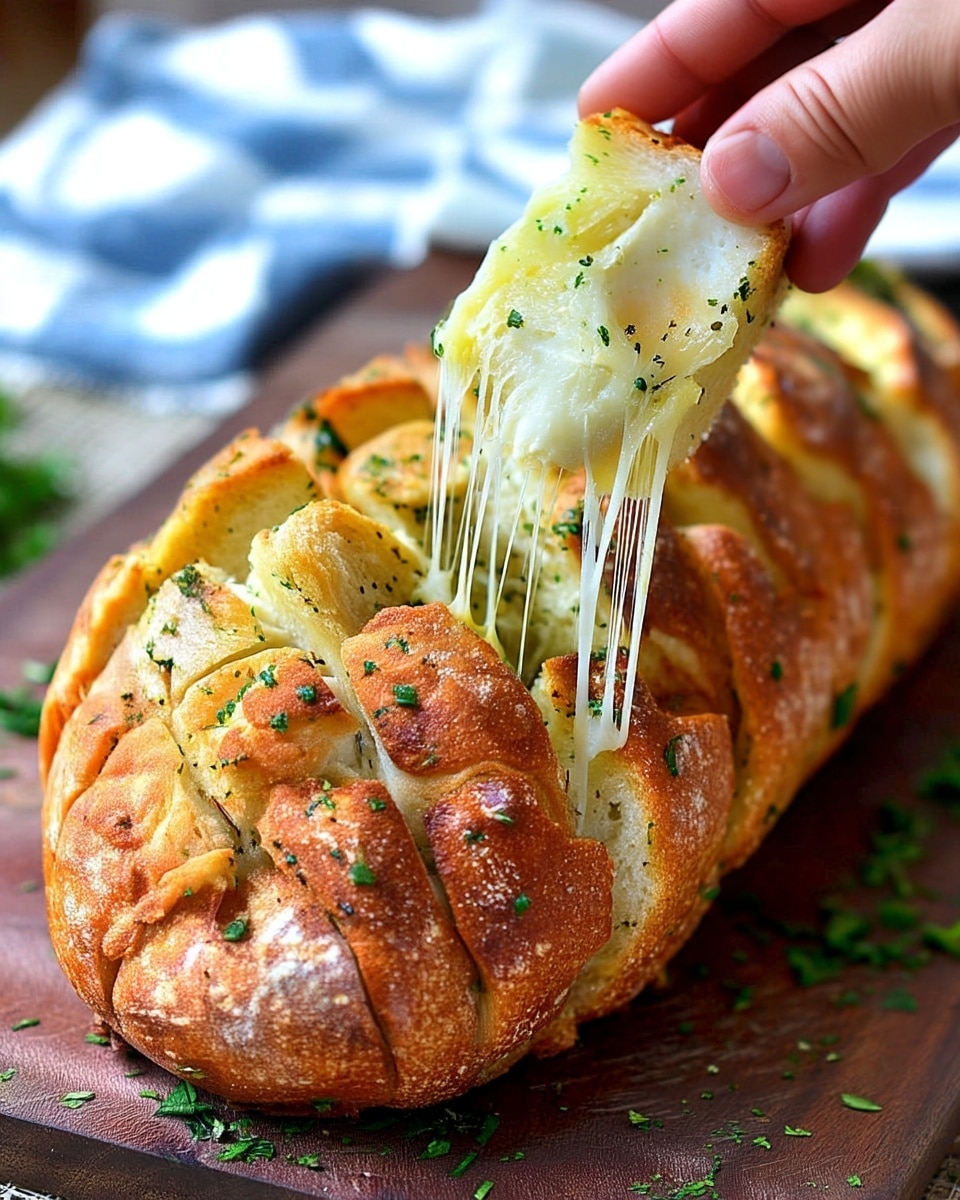
When I serve this Cheese and Garlic Crack Bread (Pull Apart Bread) Recipe, I love to pair it with hearty soups or vibrant salads to balance the richness. Think a bowl of tomato basil soup or a crisp Caesar salad — the bread’s buttery, cheesy goodness complements those dishes perfectly. It also shines as a party appetizer; simply place it on a large platter accompanied by some olives, pickles, or cured meats for a fun sharing board.
For presentation, I like to sprinkle a little extra fresh parsley on top just before serving to add a fresh pop of green. Serving it on a rustic wooden board encourages everyone to tear and share, which adds to the communal vibe. To elevate the experience, offer dipping sauces like marinara or a creamy ranch—both of which work beautifully with the garlic and cheese flavors.
As for drinks, I often grab a chilled glass of white wine like Sauvignon Blanc or a light, bubbly Prosecco, which cuts through the richness and refreshes your palate. For non-alcoholic options, sparkling water with lemon or a crisp apple cider pairs wonderfully. I think this bread is versatile enough to work for casual weeknight meals or festive holiday spreads alike. Always best served warm or hot to keep that irresistible gooey texture intact!
Variations
I love experimenting with this recipe to make it my own. One simple variation I recommend is swapping mozzarella for sharp cheddar or smoked gouda to give it a bolder cheese flavor. Sometimes I toss in a little grated parmesan on top for an extra cheesy crust. For garlic lovers, doubling the garlic in the butter mix intensifies that punchy aroma.
If you need dietary modifications, I’ve had success using gluten-free bread options to replicate this recipe’s magic—just use a sturdy gluten-free loaf that holds up well when sliced. For a vegan twist, try a plant-based butter and vegan cheese. The result won’t be exactly the same but still delicious and comforting in its own right.
I’ve also played around with adding flavor variations like sprinkling crushed red pepper flakes or dried Italian herbs into the garlic butter mixture for a little kick or herbal complexity. Another fun method is to cook it in an air fryer at 180C for about 12-15 minutes with foil on, then uncovered for 3-5 minutes to crisp it up, which makes the process faster without losing any of the signature pull-apart texture.
Storage and Reheating
Storing Leftovers
If you have any leftovers from your Cheese and Garlic Crack Bread (Pull Apart Bread) Recipe, store them in an airtight container or tightly wrapped with plastic wrap. Keep it at room temperature if you plan to eat it within the day, or refrigerate it if you want to save it longer. It’s best eaten within 2 days for optimal freshness and flavor.
Freezing
This bread can be frozen, but because of the cheese and garlic butter, I recommend freezing before baking for best results. Wrap the prepared bread tightly in foil and then place it in a freezer-safe bag. It will keep well for up to 1 month. When ready to enjoy, thaw it overnight in the fridge and bake as directed, adding a few extra minutes to the baking time if needed. Freezing after baking is a bit trickier since the texture can become soggy, so I usually avoid that.
Reheating
The best way to reheat this bread is in a preheated oven at 175C (350F) for about 10 minutes wrapped in foil, then unwrap and bake for another 3 to 5 minutes to refresh the crisp crust. Avoid microwaving, as this tends to make the bread chewy and the crust soggy, which is sadly the opposite of what we want. Reheating in the oven brings back that fresh-baked feel and keeps the cheese melty and delicious.
FAQs
Can I make this Cheese and Garlic Crack Bread (Pull Apart Bread) Recipe ahead of time?
Absolutely! You can prepare the bread fully assembled up to the point of baking and then wrap it tightly with foil and refrigerate for up to 24 hours. When you’re ready, just pop it into the oven and bake as directed, possibly adding a few extra minutes if coming straight from the fridge.
What type of cheese works best in this recipe?
Mozzarella is my go-to because it melts wonderfully and creates that perfect stretchy texture. However, you can also experiment with cheeses like cheddar, Monterey Jack, gouda, or even a mix for more complex flavor. Just make sure to use good melting cheeses.
Is this recipe very garlicky for those who don’t love strong garlic flavors?
The garlic butter does provide a noticeable garlic flavor, but it’s mellow once baked. If you prefer a milder taste, you can reduce the garlic quantity or roast the garlic beforehand to soften its pungency while keeping the aroma.
Can I use any type of bread for the pull-apart bread?
While you can try different breads, I highly recommend a crusty loaf like sourdough or Vienna, which holds its shape and crisps up nicely. Soft sandwich breads won’t give you the same texture or pull-apart effect.
How do I prevent the bread from becoming soggy?
The key is not cutting all the way through the loaf and baking it wrapped in foil initially, which steams the cheese inside. Then removing the foil at the end crisps the crust. Avoid microwaving leftovers, as that leads to sogginess. Reheating in the oven is best to keep it crispy and delicious.
Conclusion
I really hope you give this Cheese and Garlic Crack Bread (Pull Apart Bread) Recipe a try because it’s one of those dishes that never fails to bring joy to the table. Whether you’re sharing it with family or friends, its warm, cheesy, and garlicky flavors always impress and satisfy. It’s simple, comforting, and absolutely delicious — exactly the kind of recipe I love to have on hand for any occasion.
Print
Cheese and Garlic Crack Bread (Pull Apart Bread) Recipe
- Prep Time: 10 minutes
- Cook Time: 30 minutes
- Total Time: 40 minutes
- Yield: 8 servings
- Category: Appetizer
- Method: Baking
- Cuisine: American
Description
This Cheese and Garlic Crack Bread is a delicious, pull-apart loaf perfect for sharing. Made with crusty sourdough or Vienna bread, it’s stuffed with melted mozzarella, infused with garlic butter, and baked until golden and crispy. Ideal as a snack, appetizer, or accompaniment to any meal.
Ingredients
Ingredients
- 1 crusty loaf, preferably sourdough or Vienna bread
- 1 cup shredded Mozzarella cheese (or other melting cheese)
- 100 g / 1 stick (8 tbsp) unsalted butter, softened
- 2 large garlic cloves, minced
- 3/4 tsp salt
- 1 tbsp fresh parsley, finely chopped
Instructions
- Preheat Oven: Preheat your oven to 180°C (350°F) to ensure it’s properly heated for baking the bread.
- Prepare Garlic Butter: In a heatproof bowl, combine the softened butter, minced garlic, and salt. Melt this mixture in the microwave, then stir in the finely chopped parsley to create a flavorful garlic butter.
- Cut the Bread: Cut the loaf diagonally into approximately 2cm (1 inch) diamond shapes, but be careful not to cut all the way through the bread so it stays intact.
- Stuff the Bread: Gently pry open each crack using your fingers or a knife. Drizzle about a teaspoon of the garlic butter into each opening and stuff in a pinch of shredded cheese. It’s fine if some butter spreads over the crust—it adds extra flavor and crispiness.
- Brush with Remaining Butter: Once all the cracks are filled, brush the surface of the bread with any remaining garlic butter to enhance the crust’s golden color and flavor.
- Bake Covered: Wrap the bread with foil to keep moisture in and bake in the oven for 20 minutes, allowing the cheese to melt thoroughly.
- Finish Baking Uncovered: Remove the foil and bake for an additional 5 to 10 minutes to crisp up the crust and achieve a golden finish.
- Serve: Serve the bread immediately for the best texture and flavor. It’s perfect as a shareable appetizer or alongside meals.
Notes
- To make ahead, you can prepare the stuffed loaf without baking, wrap tightly, and refrigerate for up to 24 hours. Bake as directed just before serving.
- Feel free to experiment with different melting cheeses such as cheddar or Monterey Jack for varied flavors.
- For a spicier version, add a pinch of red pepper flakes to the garlic butter.
- Use fresh parsley for brightness, or substitute with dried herbs if fresh is unavailable.


