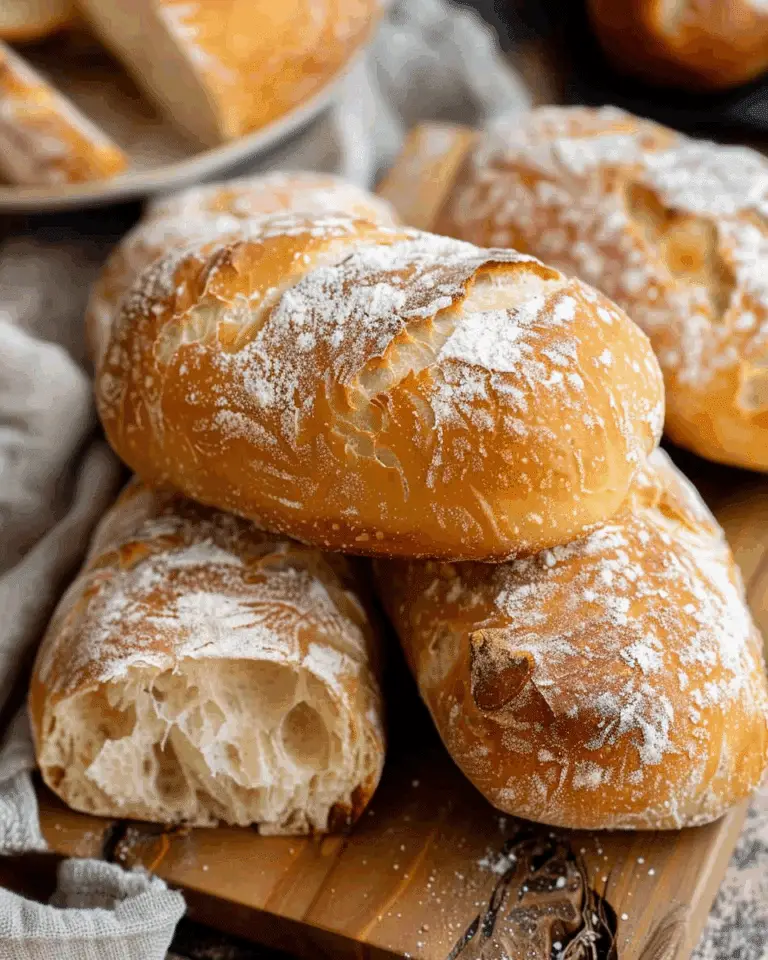
A soft, delicious bread made entirely on the stovetop—no oven required. This yeasted loaf is cooked gently in a pot over low heat, delivering a warm, golden crust and a tender, satisfying crumb. It’s a simple, rustic recipe that brings all the comforts of homemade bread without needing to heat up the oven.
Why You’ll Love This Recipe
I love how this recipe turns a few pantry staples into something cozy and satisfying. There’s no need for special equipment, and I don’t even need an oven. The dough is easy to handle, and the results are surprisingly good for such a minimal method. The stovetop method gives the bread a gentle, even bake and a soft texture that’s perfect for sandwiches or eating warm with a bit of butter. Plus, it’s adaptable—I can add herbs, garlic, or seeds to make it my own.
Ingredients
(Here’s a tip: Check out the full list of ingredients and measurements in the recipe card below.)
-
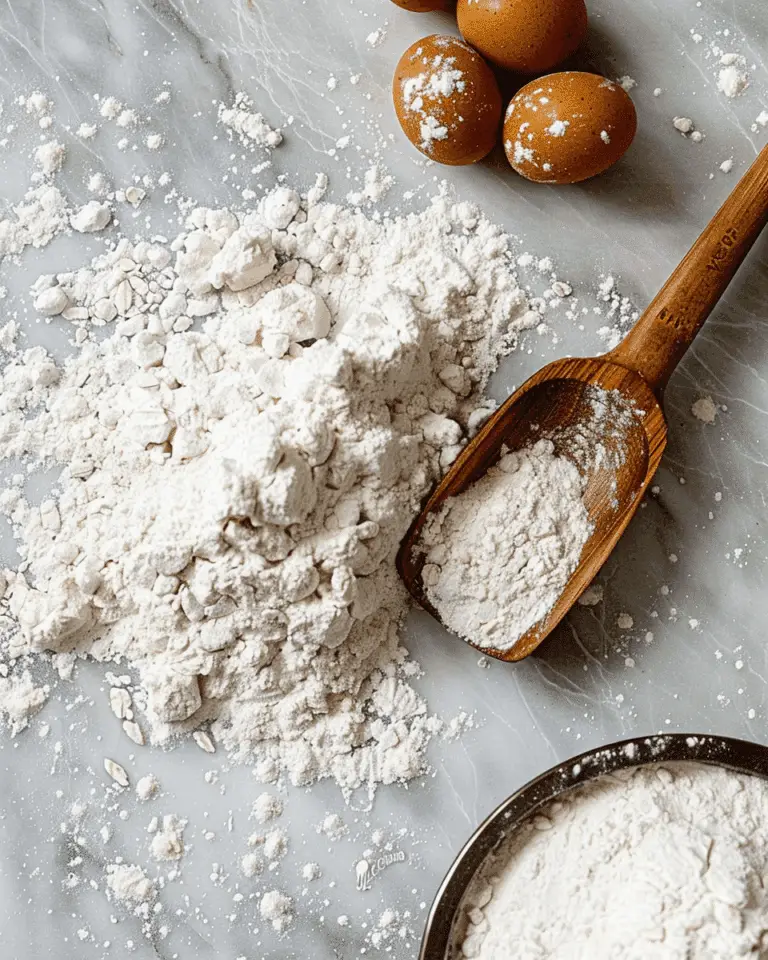
3 cups all‑purpose flour (≈ 375 g)
-
1 tbsp sugar
-
1 tsp salt
-
2 ¼ tsp active dry yeast (1 packet)
-
1 cup warm water (≈ 110°F / 43‑45°C)
-
2 tbsp melted butter or oil (for greasing & brushing)
Directions
-
I start by dissolving the sugar in warm water in a small bowl, then sprinkle the yeast on top and let it sit for 5–10 minutes until it turns foamy.
-
In a large mixing bowl, I combine the flour and salt, then make a well in the center to pour in the yeast mixture.
-
I stir until I get a soft, slightly sticky dough. If it feels too dry, I add a splash more water. If it’s too wet, a sprinkle of flour fixes it.
-
Then I turn it out onto a floured surface and knead for about 5–7 minutes until smooth and elastic.
-
I place the dough in a greased bowl, cover it with a clean towel, and let it rise in a warm place until doubled in size—usually around an hour.
-
Once risen, I punch down the dough, shape it into a round loaf, and place it into a greased heavy pot or thick-bottomed skillet with a tight-fitting lid.
-
Cooking starts over very low heat for about 25–30 minutes. I check occasionally to make sure the bottom isn’t burning.
-
Once the bottom is browned and the loaf sounds hollow when tapped, I carefully flip or rotate it and cook for another 15–20 minutes to ensure it’s cooked through.
-
I finish by brushing the top with melted butter or oil and let it cool on a rack before slicing.
Servings and timing
-
Yield: 1 loaf (about 8–10 slices)
-
Prep Time: 15 minutes
-
Cook Time: 45 minutes
-
Rising Time: 1 hour
-
Total Time: 1 hour 45 minutes
-
Serving Size: 1 slice (≈ 1/10 loaf)
Variations
I like changing things up by adding minced garlic, dried herbs like rosemary or thyme, or sprinkling sesame or poppy seeds on top before cooking. For a slightly sweet version, I sometimes mix in a handful of raisins and a pinch of cinnamon.
Storage/Reheating
Once fully cooled, I wrap the bread in a clean cloth or store it in an airtight container at room temperature for up to 3 days. For longer storage, I freeze it (sliced for convenience) and toast slices straight from the freezer. To reheat, I warm slices in a dry pan or pop them in the toaster for a fresh-baked feel.
FAQs
How do I know when the bread is fully cooked on the stovetop?
I tap the bottom of the loaf—if it sounds hollow, it’s usually done. If I have a thermometer, I check for an internal temperature of around 200°F (93–95°C).
What kind of pot works best for stovetop bread?
I use a heavy-bottomed pot or skillet with a tight-fitting lid. Cast iron, enamel-coated, or thick stainless steel all work well to distribute heat evenly and trap steam.
Can I make this bread without yeast?
This specific recipe relies on yeast for rising, so I don’t recommend skipping it. For a yeast-free version, I’d need to switch to a soda bread or quick bread recipe.
What should I do if the bottom is burning before the bread is cooked?
That means the heat is too high. I lower the flame to the lowest setting, use a heat diffuser if I have one, or double up the pan layer to prevent scorching.
Can I use whole wheat flour instead of all-purpose?
Yes, I can substitute part or all of the flour with whole wheat. The loaf will be denser, so I sometimes add a touch more water and knead a little longer to develop the gluten.
Conclusion
This stovetop bread recipe is a game-changer when I don’t want to use the oven but still crave the comfort of homemade bread. With just a few ingredients and a bit of patience, I get a warm, rustic loaf right from the stovetop. It’s flexible, simple, and incredibly rewarding to make.
Print
Stovetop Bread (No Oven Needed)
- Prep Time: 15 minutes
- Cook Time: 45 minutes
- Total Time: 1 hour 45 minutes
- Yield: 1 loaf (≈ 8‑10 slices)
- Category: Bread
- Method: Stovetop / Pan / Pot cooking
- Cuisine: Universal / Home / Rustic
- Diet: Vegetarian
Description
A soft, delicious bread made entirely on the stovetop—no oven needed. Yeasted loaf cooked in a pot over low‑heat, yielding a warm crust and tender crumb.
Ingredients
- 3 cups all‑purpose flour (≈ 375 g)
- 1 tbsp sugar
- 1 tsp salt
- 2 ¼ tsp active dry yeast (1 packet)
- 1 cup warm water (≈ 110°F / 43‑45°C)
- 2 tbsp melted butter or oil (for greasing & brushing)
Instructions
- In a small bowl, dissolve sugar in warm water. Sprinkle yeast over; let sit for ~5‑10 minutes until foamy.
- In a large bowl, mix flour and salt. Make a well in the centre; pour in yeast mixture.
- Stir until a soft, slightly sticky dough forms. If too dry, add a little more water; if too wet, a bit more flour.
- Turn dough onto a lightly floured surface; knead for 5‑7 minutes until smooth and elastic.
- Place dough in a greased bowl, cover with a cloth, let rise in a warm place until doubled in size (≈ 1 hour).
- After rising, punch down dough, shape into a round loaf. Grease a heavy pot or thick‑bottomed skillet, place loaf inside. Cover with tight‑fitting lid.
- Cook over very low heat for about 25‑30 minutes, checking occasionally to ensure bottom doesn’t burn (you may lift and peek; adjust heat as necessary).
- Once bottom is browned and loaf feels hollow when tapped, flip loaf (if possible) or rotate for evenness, cover, and cook another ~15‑20 minutes until fully cooked through.
- Brush top with melted butter or oil, let cool on a rack before slicing.
Notes
- Use a heavy pot with a thick bottom to distribute heat and avoid scorching.
- Keep heat very low—stovetop tends to burn bottoms if heat is too high.
- Ensure lid seals well to trap steam for better crust and crumb.
- You can flavour the dough by adding garlic, herbs, or seeds.
- Check doneness by tapping bottom (should sound hollow) or by internal temperature (~200°F / 93‑95°C if you have a thermometer).
Nutrition
- Serving Size: 1 slice (≈ 1/10 loaf)
- Calories: 200
- Sugar: 2 g
- Sodium: 220 mg
- Fat: 4 g
- Saturated Fat: 1 g
- Unsaturated Fat: 3 g
- Trans Fat: 0 g
- Carbohydrates: 36 g
- Fiber: 1 g
- Protein: 6 g
- Cholesterol: 0 mg

