I absolutely adore sharing this Cherry Crumb Bars Recipe with you because it combines everything I love about dessert: a buttery, crumbly crust and topping paired with a vibrant, sweet cherry filling. It’s easy to whip up, bursting with fresh cherry flavor, and perfect for any occasion when you want a dessert that’s both comforting and a little bit special. I promise, once you try these bars, they’ll quickly become a favorite treat in your baking repertoire just like they are in mine.
Why You’ll Love This Cherry Crumb Bars Recipe
What really draws me to this Cherry Crumb Bars Recipe is how perfectly balanced the flavors are. The buttery crust and crumb topping add this incredible crisp texture and rich taste, while the cherry filling is sweet and slightly tangy, creating a flavor profile that feels like a cherry pie in every bite without all the fuss. It’s the kind of dessert that feels decadent but actually manages to stay light and fresh thanks to the juicy cherries.
Another thing that makes me love this recipe so much is how easy it is to make. Seriously, the prep is straightforward, the ingredients are simple, and the assembly feels almost therapeutic as you press the crumbly dough into the pan and spoon on that luscious cherry layer. Whether you’re baking for an afternoon gathering or a cozy weekend treat, this is one recipe I always come back to because it delivers deliciousness without complicated steps or exotic ingredients.
Ingredients You’ll Need
To get that perfect balance of texture and flavor, I rely on simple, pantry-friendly ingredients that each play an essential role. The flour and butter create that tender, buttery crumb, while the fresh cherries give the bars their bright color and juicy sweetness. Sugar and cornstarch help the cherry filling set up nicely, and a touch of baking powder gives the crust just the right lift.
Pro Tip ✨
Check out the full list of ingredients and measurements in the recipe card below.
- 1 3/4 cups all purpose flour: Provides structure for the crust and crumb, balancing tenderness and crumbly texture.
- 3/4 cup sugar: Sweetens both the crust and filling for just the right touch of sweetness.
- 1/2 tsp baking powder: Adds a subtle lift to keep the crust light and crumbly without heaviness.
- 1/4 tsp salt: Enhances the flavors and balances sweetness perfectly.
- 1/2 cup butter, cold: The star of the crumb topping and crust, giving it that irresistible buttery richness.
- 1 egg, whisked: Binds the dough together while keeping it tender.
- 2 tbsp milk, any kind: Adds moisture to help the dough bind without getting soggy.
- 2 1/4 cups fresh cherries, pitted: The heart of the filling, bursting with juicy, fresh cherry flavor and natural color.
- 3 tbsp sugar: Sweetens the cherry filling to balance the tartness of the cherries.
- 2 tbsp cornstarch: Thickens the cherry filling so it won’t run or get soggy.
Directions
Step 1: Preheat your oven to 375°F (190°C) and line an 8×8 or 9×9 square baking dish with parchment paper, leaving an overhang on two sides for easy removal later. Spray the sides lightly with nonstick spray.
Step 2: In a large bowl, whisk together the flour, sugar, baking powder, and salt until well combined. Then grate the cold butter directly into the bowl using a box grater—this technique helps you get small bits that will create a perfect crumb.
Step 3: Using your hands, quickly rub the grated butter into the dry ingredients until the mixture resembles small pebbles. Don’t overwork it; you want little chunks of butter to stay intact for that beautiful crumbly texture.
Step 4: Add the whisked egg and milk to the dry mixture and stir gently until the dough just holds together when pinched. It should be slightly crumbly but still hold as a mass.
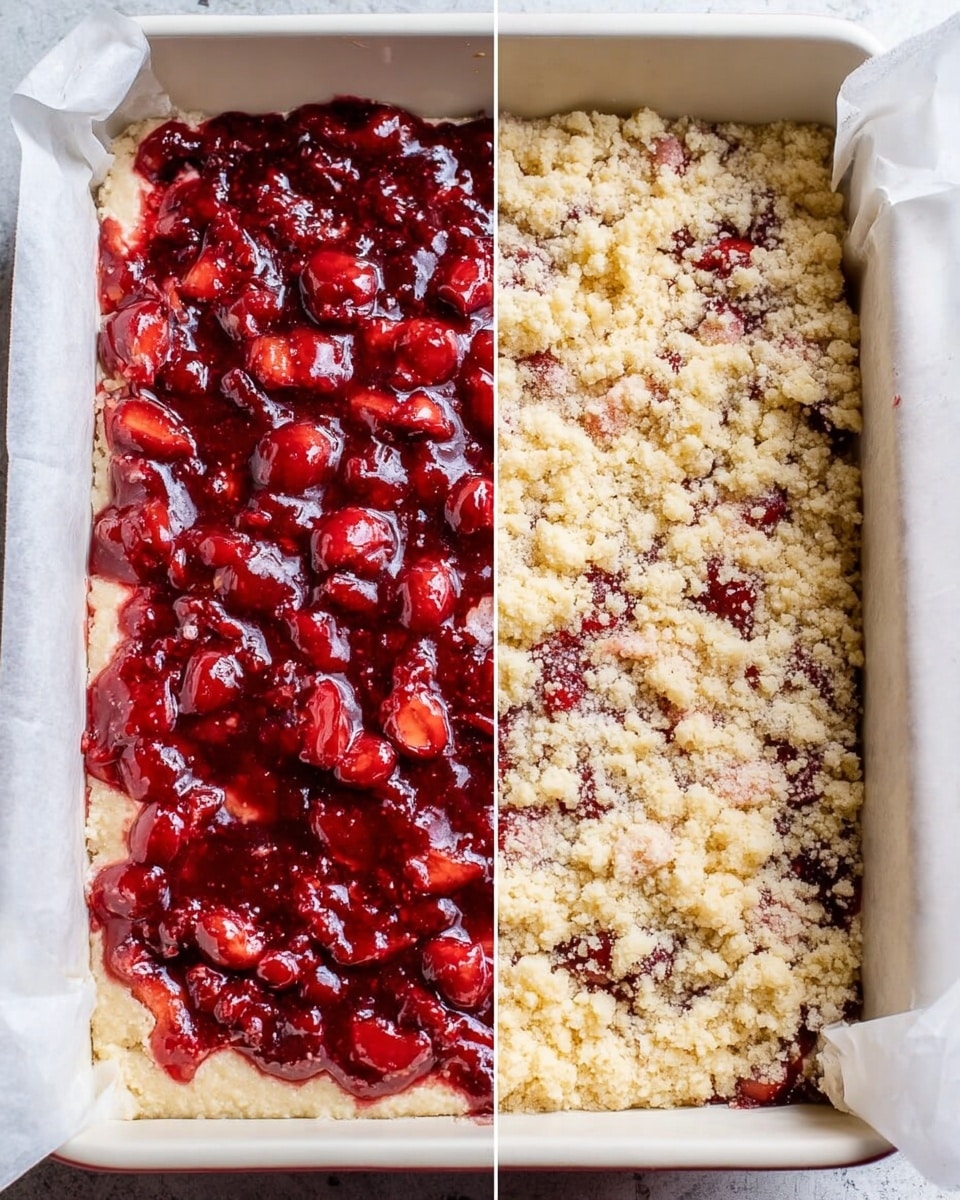
Step 5: Reserve about one third of this crumb mixture and press the rest evenly into the bottom of your prepared baking dish to form the crust, using your hands to compact it gently but firmly.
Step 6: In a medium bowl, mash the pitted cherries with a potato masher or fork until mostly crushed but still a bit chunky, then strain through a fine mesh sieve to remove excess juice. Return the cherries to the bowl, add the sugar and cornstarch, and stir to combine thoroughly.
Step 7: Spread the cherry filling evenly over the crust. Then sprinkle the reserved crumb topping evenly over the cherries, covering as much as possible.
Step 8: Place the baking dish in the oven and bake for 32-36 minutes, until the crumb topping is golden brown and the cherry filling is bubbly.
Step 9: Let the bars cool completely in the pan at room temperature or pop them in the refrigerator to chill faster. Once cooled, use the parchment paper overhang to lift the bars out of the pan and slice into 9 squares. Enjoy!
Servings and Timing
This recipe yields 9 delicious bars, perfect for sharing or keeping all to yourself if you’re feeling indulgent! Prep time is a quick 15 minutes, with 35 minutes of baking, so you’ll have a batch ready in about 50 minutes total. Allow some additional time for the bars to cool completely, which is key to achieving clean slices and that perfect texture.
How to Serve This Cherry Crumb Bars Recipe
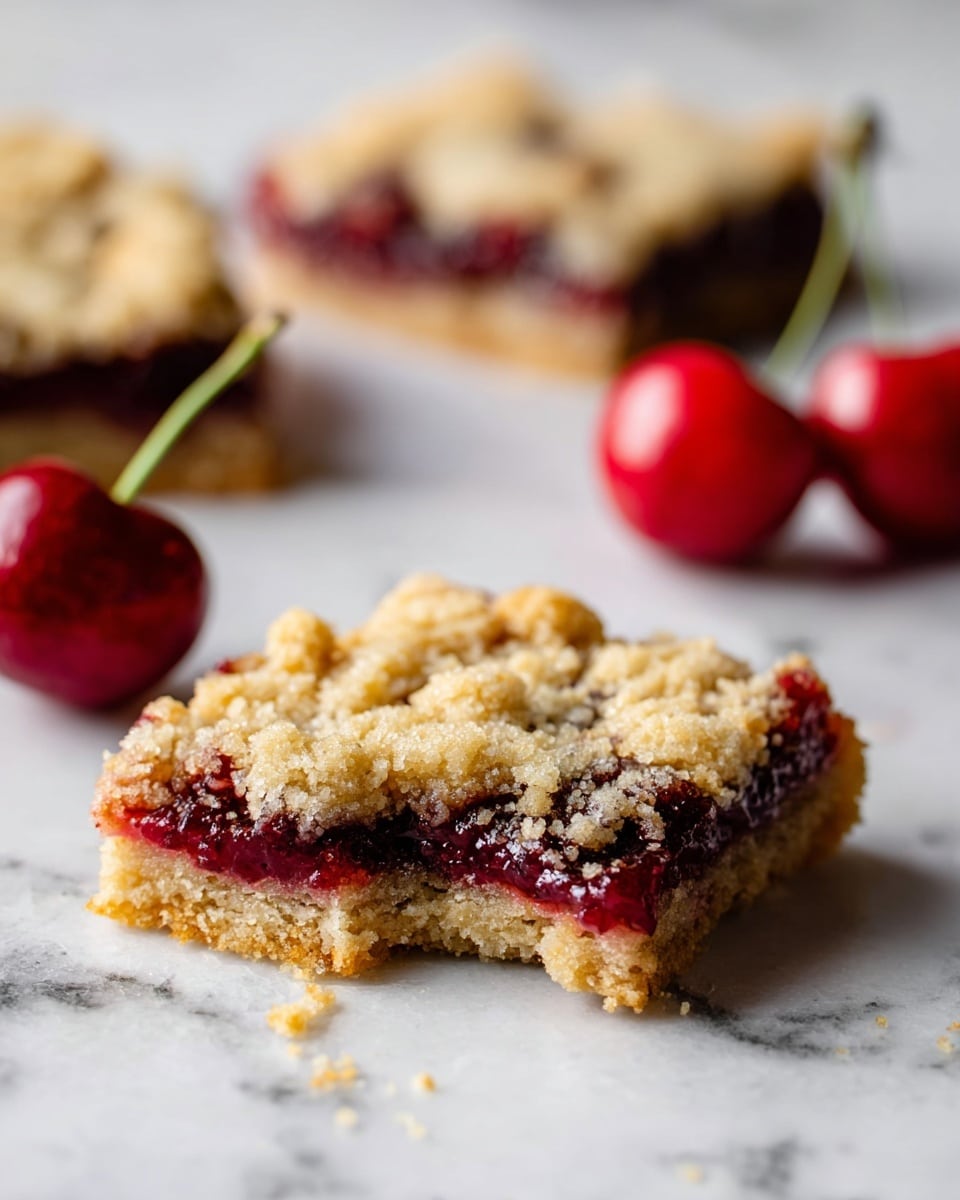
When I serve these Cherry Crumb Bars, I love keeping it simple and letting their natural charm shine. They’re wonderful served at room temperature or chilled straight from the fridge on a warm day, where the cherry filling tastes extra refreshing. For a decadent touch, try warming a bar slightly and topping it with a scoop of vanilla ice cream or a dollop of whipped cream.
Presentation-wise, I usually cut them into neat squares and arrange them on a pretty platter with a sprinkling of powdered sugar or a few fresh cherries for color. They pair beautifully with a cup of strong coffee or a fragrant cup of tea, making them ideal for brunch or afternoon gatherings. For evening occasions, I recommend pairing these bars with a glass of chilled sparkling rosé or a light dessert wine to complement the cherry sweetness.
These bars are perfect for family dinners, potlucks, or even holiday celebrations where you want to impress guests with minimal fuss. Their vibrant cherry color helps them stand out on any dessert table. I often suggest serving smaller portions since they’re rich and satisfying—a little goes a long way!
Variations
I have a soft spot for making variations on this Cherry Crumb Bars Recipe because it’s so adaptable. If you can’t find fresh cherries, you can definitely use frozen cherries—just thaw and drain well to avoid excess moisture. You could also swap cherries for other berries like raspberries or blueberries for a fun twist.
For my gluten-free friends, I’ve successfully made these bars by replacing all-purpose flour with a gluten-free blend that includes xanthan gum. Vegan bakers can swap out butter for coconut oil or a vegan buttery spread and replace the egg with a flax egg or applesauce to keep that tender crumb intact.
If you want a flavor kick, I like adding a splash of almond extract to the cherry filling or sprinkling some chopped nuts like almonds or walnuts into the crumb topping for an extra crunch. You could also bake these bars in muffin tins or smaller pans for individual-sized portions or use a skillet to achieve even crisper edges.
Storage and Reheating
Storing Leftovers
When I have leftover Cherry Crumb Bars, I store them in an airtight container at room temperature for up to two days, though refrigeration can extend their freshness to about 4-5 days. Using a glass or plastic container with a tight-fitting lid helps keep the crumb topping crisp and the cherry filling moist without drying out.
Freezing
These bars freeze beautifully! I like to cut them into individual squares first, then wrap each piece tightly in plastic wrap and place them in a freezer-safe bag or container. Frozen bars will keep well for up to 2-3 months. When you’re ready to enjoy, just thaw them overnight in the fridge, and they’re good as new.
Reheating
To warm up your bars, I recommend gently reheating them in a 300°F (150°C) oven for 10-12 minutes to revive that just-baked texture and bring out the cherry filling’s deep flavors. Microwave reheating works in a pinch but can make the crumb topping a bit soggy, so I usually avoid that if I want to keep the crisp texture.
FAQs
Can I use frozen cherries for this recipe?
Yes! Frozen cherries work well as a substitute. Just be sure to thaw and drain them thoroughly to prevent the filling from becoming too watery. You might also need to add a touch more cornstarch if your cherries release a lot of liquid.
Can I make these bars ahead of time?
Absolutely! These bars can be made a day ahead and stored in the refrigerator. Just bring them to room temperature or warm them slightly before serving for the best texture and flavor.
What if I don’t have fresh cherries?
If fresh cherries aren’t in season, you can use frozen or canned cherries, again making sure to drain them well. You can also experiment with other fruits like raspberries or mixed berries for different flavor combinations.
Is it possible to make these bars vegan?
Yes! Replace the butter with a vegan butter substitute or coconut oil, and swap the egg for a flaxseed or chia egg. These changes help maintain the structure and richness while keeping things plant-based.
How should I cut the bars for the best presentation?
I find it easiest to wait until the bars are completely cooled or chilled, then use a sharp knife to cut into 9 equal squares. For cleaner lines, wipe the knife between cuts, and if you like, sprinkle with powdered sugar just before serving.
Conclusion
I hope you’re as excited as I am for you to try this Cherry Crumb Bars Recipe. It’s truly one of those desserts that feels both homemade and special, perfect for sharing or savoring solo. Once you taste the buttery crumb paired with that fresh cherry filling, I guarantee these bars will become a beloved go-to dessert that you make again and again. Happy baking!
Print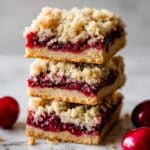
Cherry Crumb Bars Recipe
- Prep Time: 15 minutes
- Cook Time: 35 minutes
- Total Time: 50 minutes
- Yield: 9 bars
- Category: Dessert
- Method: Baking
- Cuisine: American
Description
These Cherry Crumb Bars are the perfect way to showcase fresh cherries in a delightful dessert. Featuring a buttery crust and crumb topping with a sweet cherry filling, they’re easy to prepare and deliciously satisfying. Ideal for baking enthusiasts looking for a fruity treat that combines tender texture with a bit of crumbly crunch.
Ingredients
Crust and Crumb
- 1 3/4 cups all purpose flour
- 3/4 cup sugar
- 1/2 tsp baking powder
- 1/4 tsp salt
- 1/2 cup butter, cold
- 1 egg, whisked
- 2 tbsp milk, any kind
Cherry Filling
- 2 1/4 cups fresh cherries, pitted
- 3 tbsp sugar
- 2 tbsp cornstarch
Instructions
- Prepare Baking Dish: Preheat the oven to 375°F (190°C) and line an 8×8 or 9×9 inch square baking dish with parchment paper, leaving a 1-inch overhang on the sides. Spray the sides with nonstick spray to prevent sticking and set aside.
- Make Crust and Crumb Mixture: In a large bowl, combine the flour, sugar, baking powder, and salt. Grate the cold butter directly into the bowl, then use your hands to mix until the butter resembles small pebbles. Add the whisked egg and milk, stirring until the dough just holds together when pinched.
- Press Crust: Take two-thirds of this crumb mixture and press it evenly into the bottom of the prepared baking dish with your hands, forming the crust layer.
- Prepare Cherry Filling: In a medium bowl, mash the pitted cherries with a potato masher or fork until mostly smashed but slightly chunky. Pour the mashed cherries through a fine mesh strainer to remove excess liquid. Return the drained cherries to the bowl, then stir in the sugar and cornstarch until well combined.
- Assemble Bars: Spread the cherry filling evenly on top of the pressed crust. Sprinkle the remaining crumb mixture over the cherry layer to form the topping.
- Bake: Place the pan in the oven and bake for 32 to 36 minutes, or until the edges and top are golden brown and set.
- Cool and Serve: Allow the bars to cool completely in the pan at room temperature or speed up cooling by refrigerating. Once cool, use the parchment overhang to lift the bars out and slice into 9 squares. Enjoy!
Notes
- Calories listed are approximate per bar.
- Chilling the bars after baking helps them set and makes cutting easier.
- Use fresh, ripe cherries for best flavor and texture.
- Butter should be cold to achieve crumbly texture in crust and topping.

